Appointment scheduling - it’s one of the most important tasks for online meetings. An efficient appointment scheduler system means peace of mind because you don’t have to keep track of each meeting by hand, with all the errors, double-booking, no-shows, back-and-forth emails, time zone confusions go along with that.
DaySchedule is an online appointment scheduling software for businesses to create events online, and provides personalized scheduling links to their customers to schedule appointments online at selected dates and times.
Get your personalized link e.g. you.dayschedule.com to share :
- By email or just add in the email signature
- Add on your website or blog
- Share on your social media profile link
Creating an Event
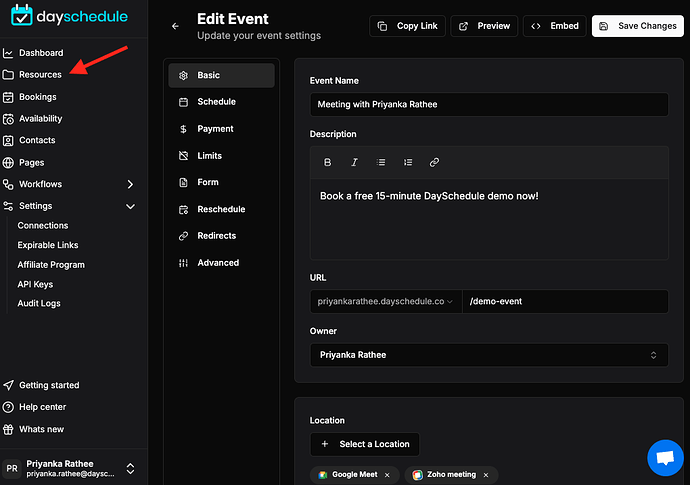
An event can be created by visiting the app.dayschedule.com or using the API to setup event name, availability date and times, your calendar connection for conferencing and other advance feature like holiday exclusions and invitee questions to collect more information about the invitee (e.g. their phone number, company name etc.) to complete the Event setup.
Calendar Connection
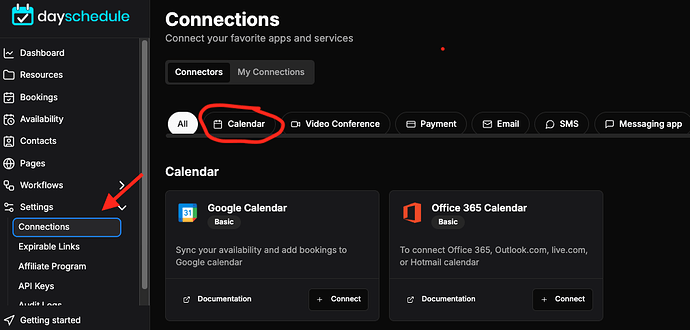
Use the calendar connection option to connect with your Google calendar, Office 365, or Microsoft calendar. The calendar connection helps you to find open appointment slots and cancellations easily. The scheduling calendar guarantees the efficient use of every hour of every day and avoids double-booking.
Once connected, you can use this connection in your new/existing events by selecting this in connection type in Location drop-down.
Inviting Team Members
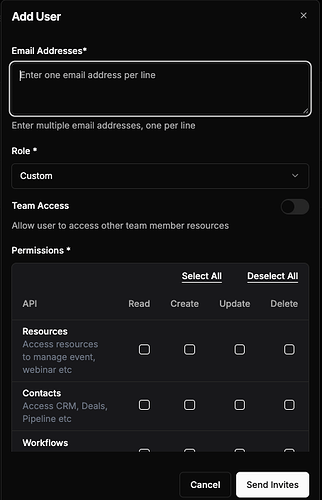
After creating your account, you can invite your team members to join your account with role-based security to give right access to users as needed for their role.
Managing Subscription
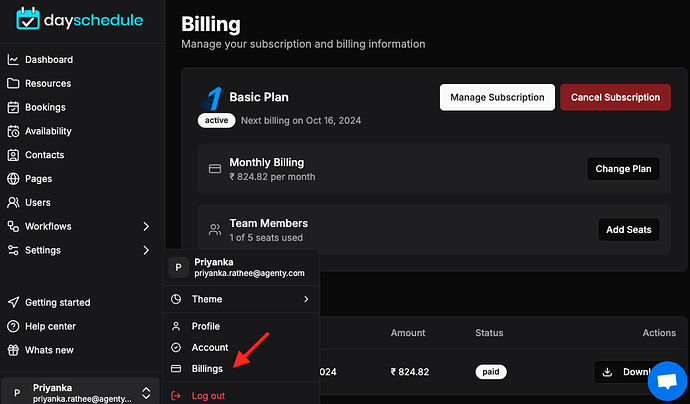
We offer monthly and annual subscription plans based on the number of users/seats purchased. Each plan has different features as mentioned on the pricing page and a no-cost Basic plan with limited features for personal use.
If you need to cancel your subscription? Click on the “Cancel subscription” button.
GST invoice
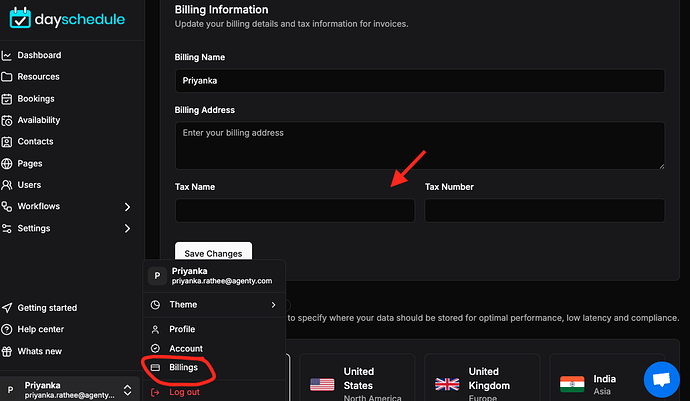
If you are a business registered in India and have a valid GST registration number, enter your GST number on settings page to auto-generate the GST invoices and input tax credit.
- The GST return is filed every month and the eligible customers will get the input tax credit from the the department.
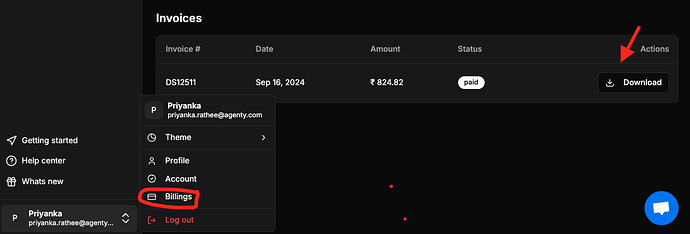
You can download your GST invoice under billings > invoice page
Deleting Account
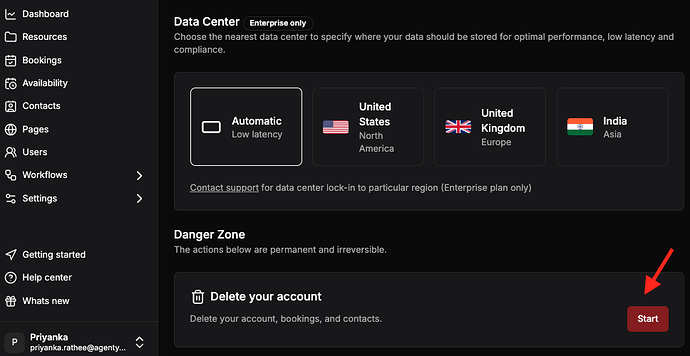
If you want to permanently delete your account and data:
- Go to the Account section on your profile section
- Scroll down and delete your account
Click on the “Delete my account” button to confirm the deletion.
