In this article, I will show you how to change the background color, logo and customize your calendar scheduling page on the day schedule app to design the appointment booking page to match your brand.

Prerequisites
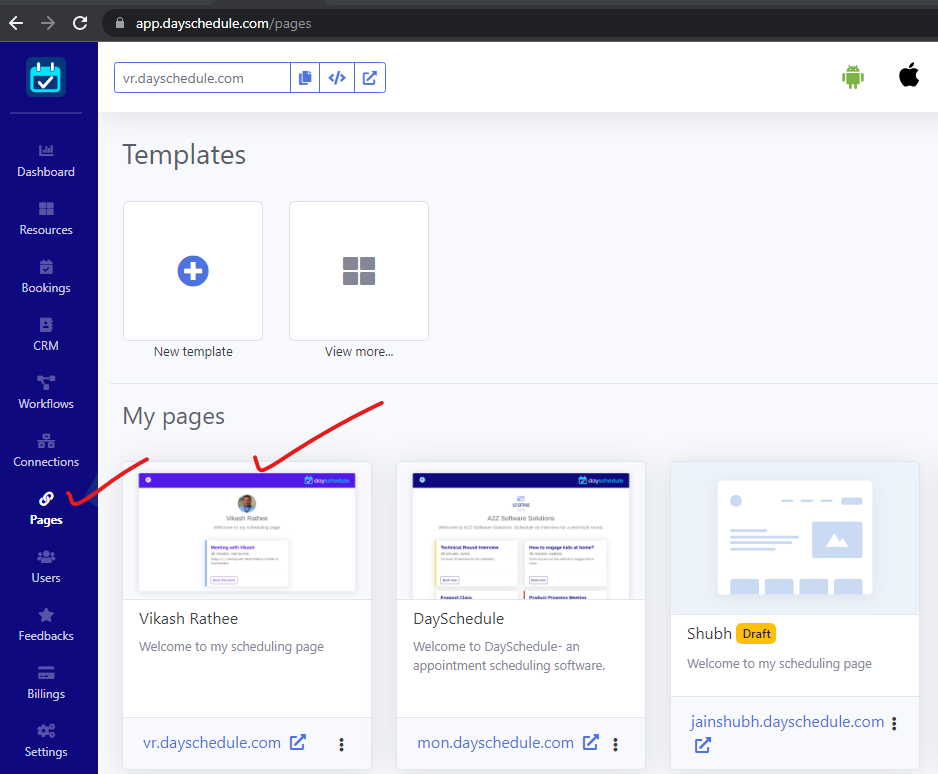
- Go to the Pages.
- Open your page to edit the color, logo etc.
- You must be on a paid plan to access branding features.
Calendar Color
This color option allows you to change the primary color(used on header, buttons) on your appointment scheduling pages. In addition, you can set the secondary color for dates according to your organization to customize your booking calendar theme to match up with your brand.
Dark mode
To enable Dark Mode, simply navigate to your page settings and find the option to switch to Dark Mode. You’ll instantly enjoy the benefits of this stylish, user-friendly dark mode appointment pages.

Light mode
The light mode allow you set more colors options and themes to build a eye-catching appointment pages.
- Toggle the Theme and color option on appointment page builder.
- To change the Background Color choose
Primary Coloroption - To change the Text Color choose
Secondary Coloroption - Click on the Save button
You can also set your custom color by clicking on the “+” button to use the HTML color picker and specify RGB or hexadecimal color codes.
Remove Logo
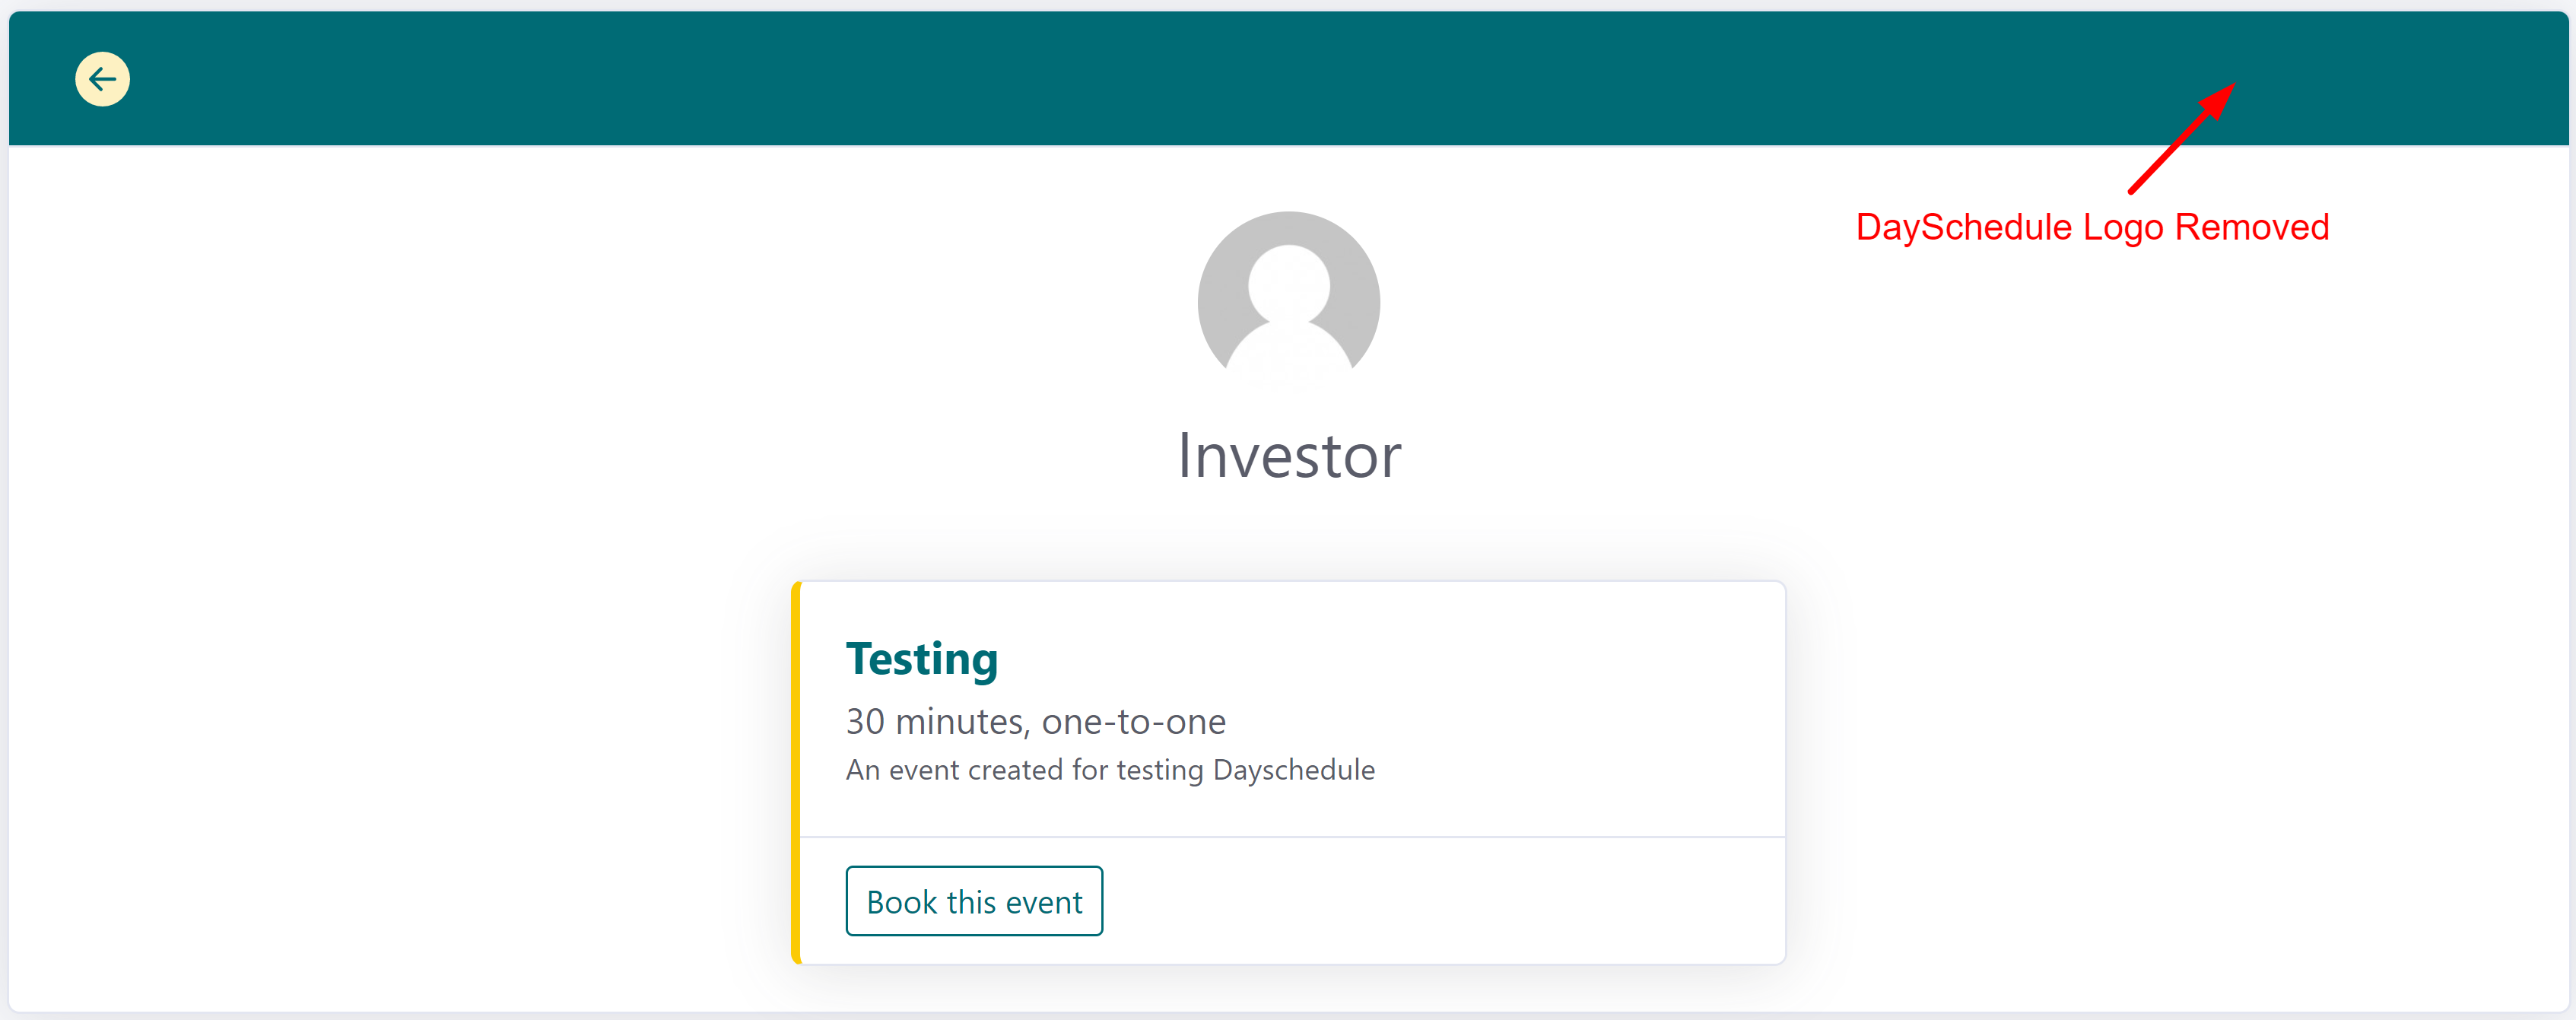
If you are on Enterprise plan, you can also remove the DaySchedule logo from your scheduling page to remove branding.
- Go to the Website Builder in the menu.
- Click the Settings Icon in the website builder.
- Choose Branding option
- Tick on the Remove DaySchedule logo checkbox
- Click on the Save Draft button
Set Name and Description
To set your own picture, name and description on scheduling pages -
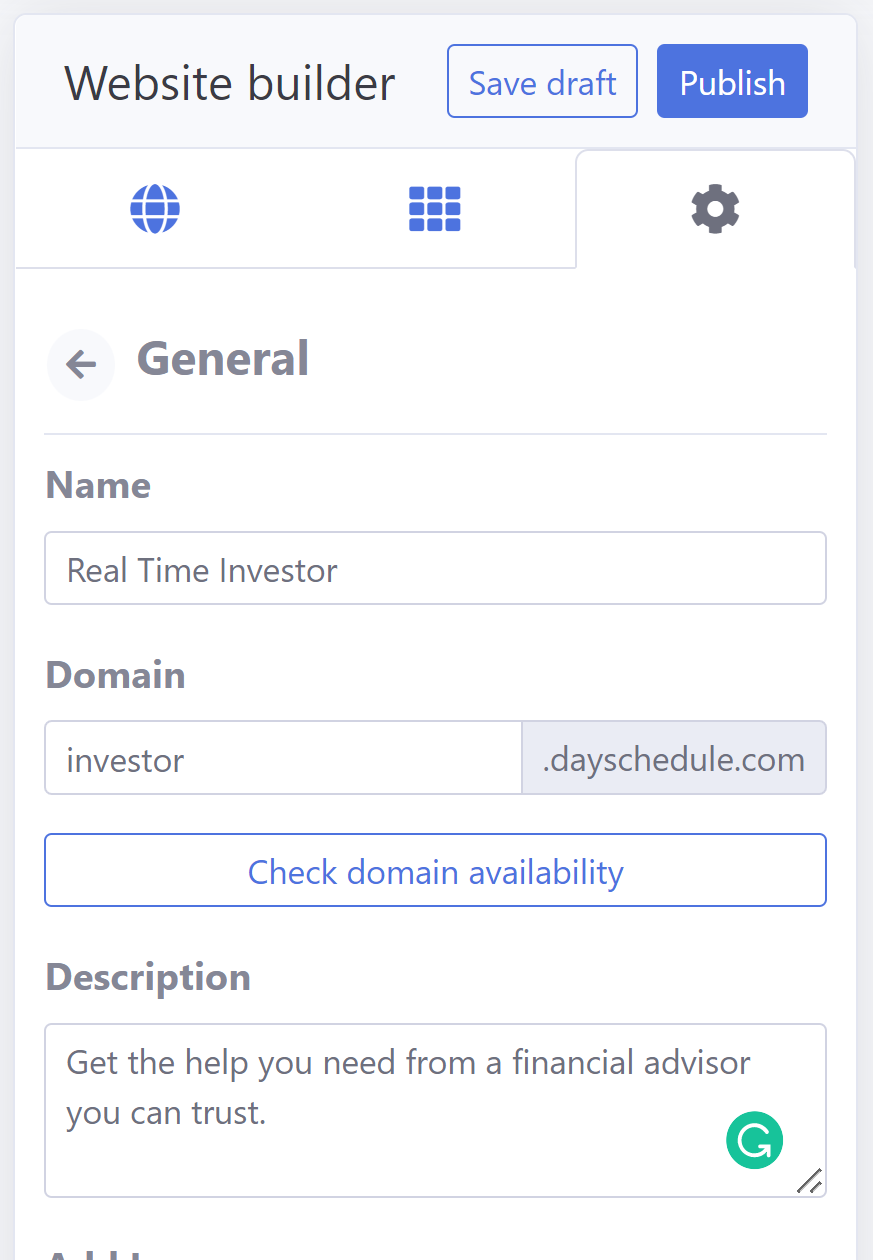
- Click on the General tab to change the name and description.
- Specify the Name and Description of your brand.
- Click on Save Draft.
The image below shows how an investor scheduling page will look like after the name and description are set.

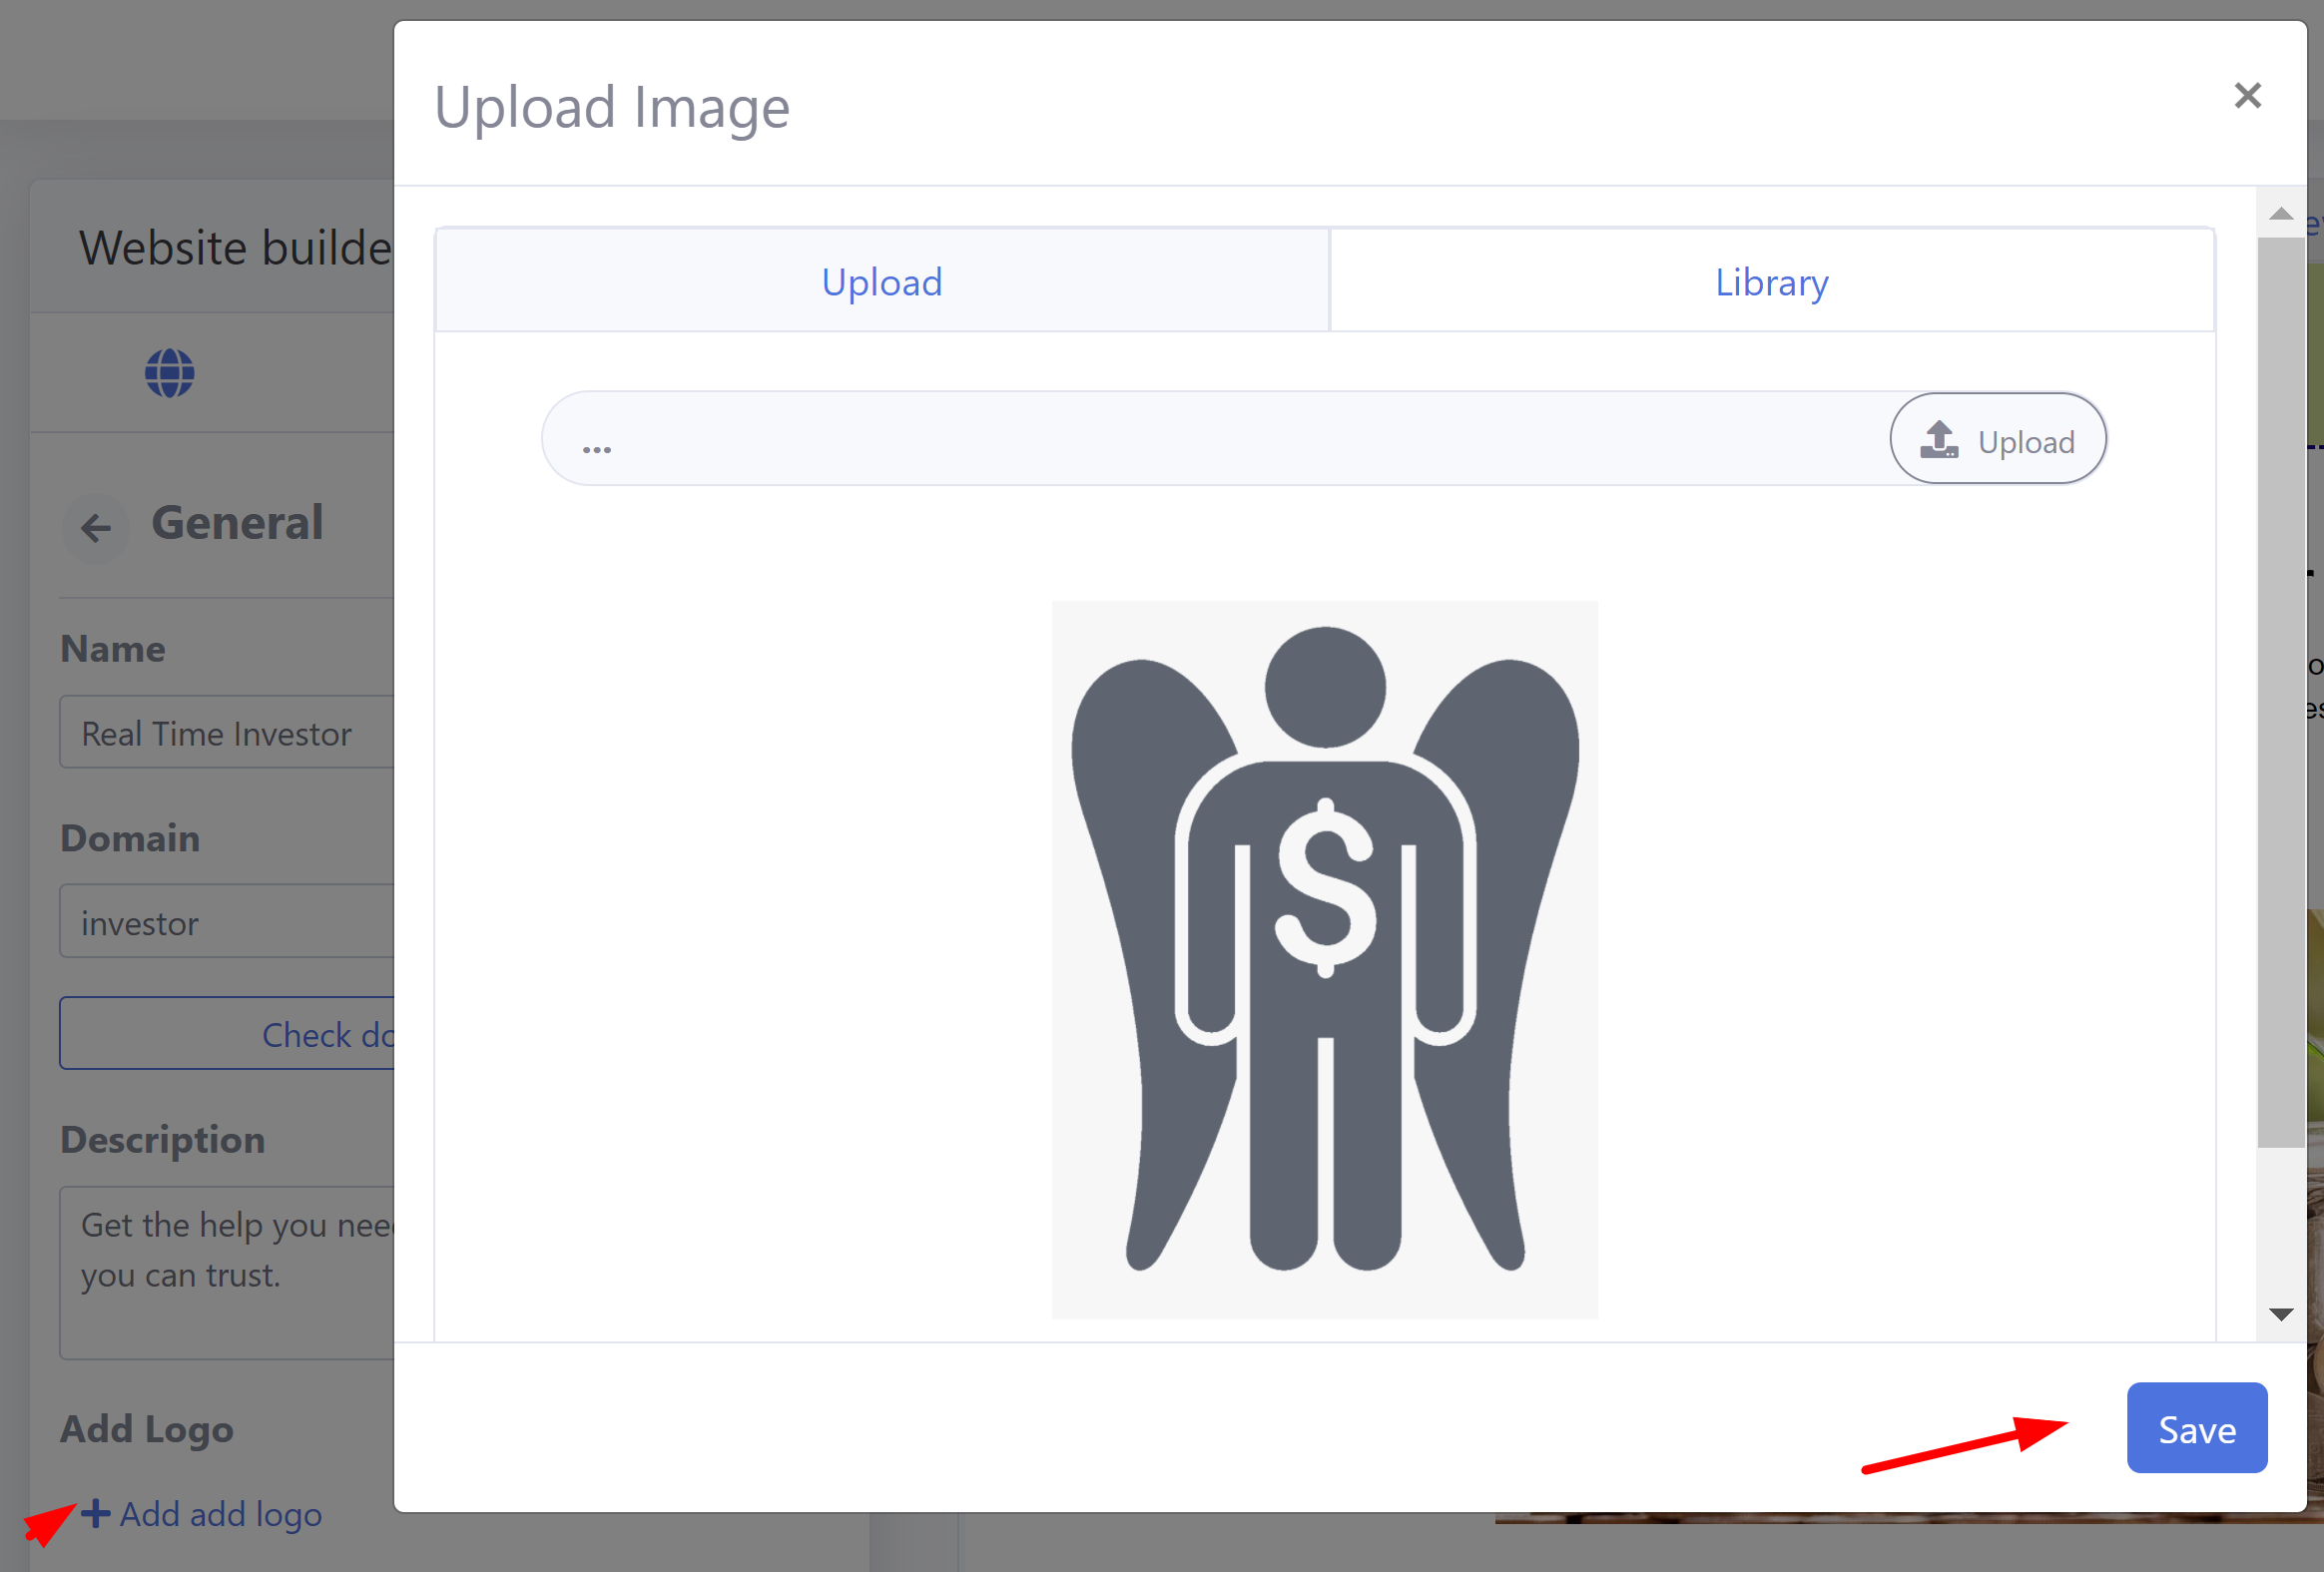
Upload Logo
You can upload your brand logo or picture through this option.
- Click on the General tab to change the name and description.
- Click on the Add Logo button to add your company logo or picture. A popup will come to Upload Image.
- Click on Upload to upload from your computer, or you can even choose from the Library.
- Select the picture you want to Upload. Then click on the Save button.
- Click on Save.
That’s the main scheduling page for your brand or company. So, you can change the background color, logo, name, and description for your brand with day schedule app.
