DaySchedule makes it easy to schedule meetings with prospects and clients by enabling them to select the date and time on your calendar that works best for them.
All that is done by creating simple events that integrate with your calendar to help recipients find your scheduled times, location on a personalized event link to see the availability and book that event on the best event booking system online.
Create an Appointment Page
- Go to the Resources
- Click on Add Resource
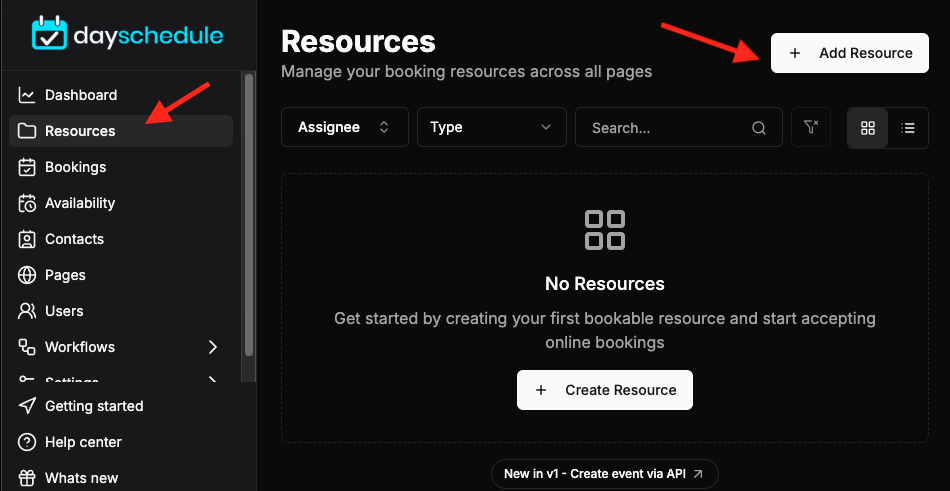
- Choose your appointment’s type
Appointment Types
Event Types allow you to create Events for different kinds of meetings like One to One meetings or Group meetings etc… DaySchedule provides 3 different meeting types:
- Group - This meeting option allows you to create an event that allows multiple invitees to book an event and meet at the same time
- One-to-One - The One-to-One (1:1) appointment type allows you to create an event that allows just one person to book an event for a particular time slot
- Round Robin - The Round-Robin option allows, each member of the selected team to host the event once before anyone may get the second meeting in the cycle.
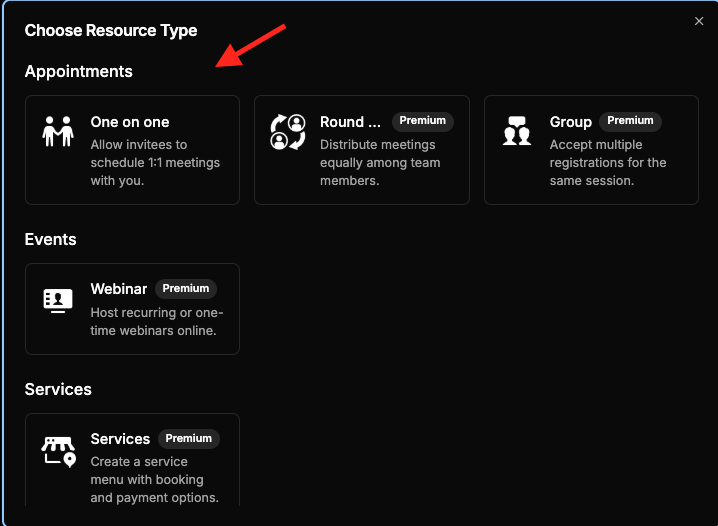
Here we choose one-on-one meeting option and fill it with name, descriptions, locations etc…
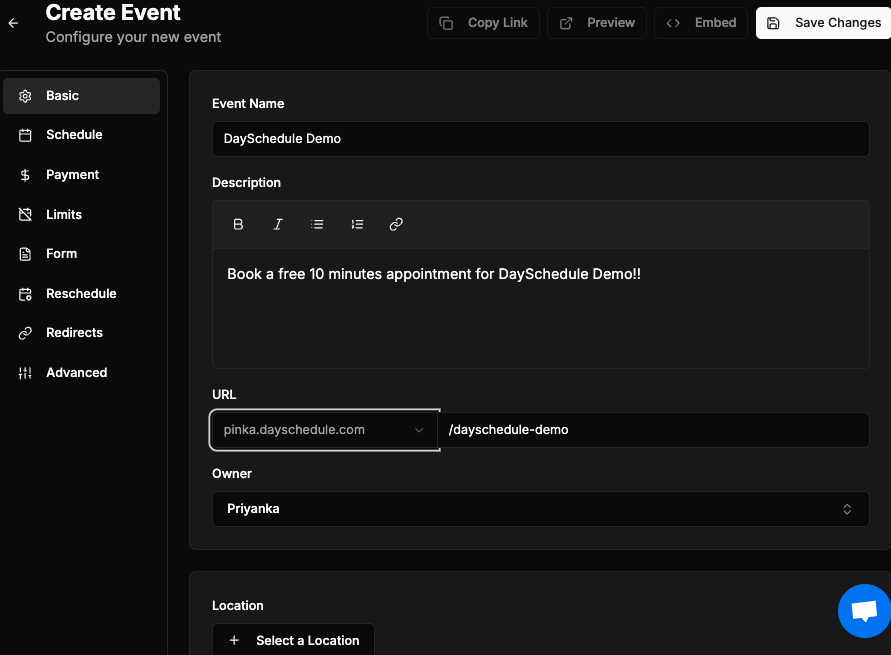
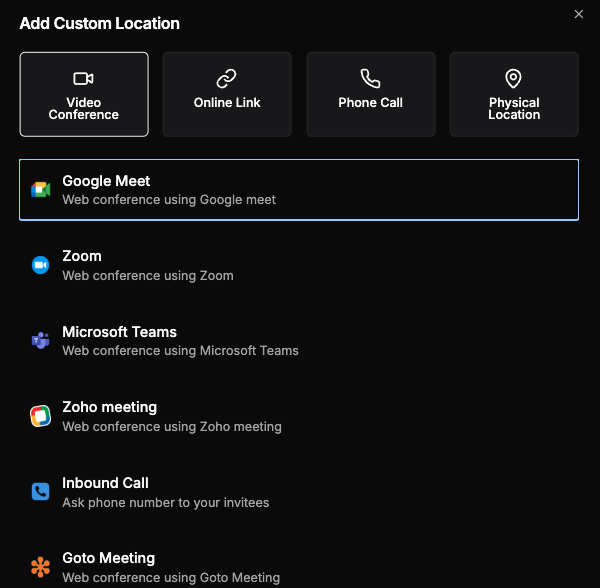
Locations
Meeting Location option allows you to specify a custom location for your event to sync the event booking with your calendar.
You can set the physical location, Web Conference(Google meeting, Microsoft meet, Zoom, GoToMeeting, etc), Phone Number, or ask your invitee to set the location for the meeting.
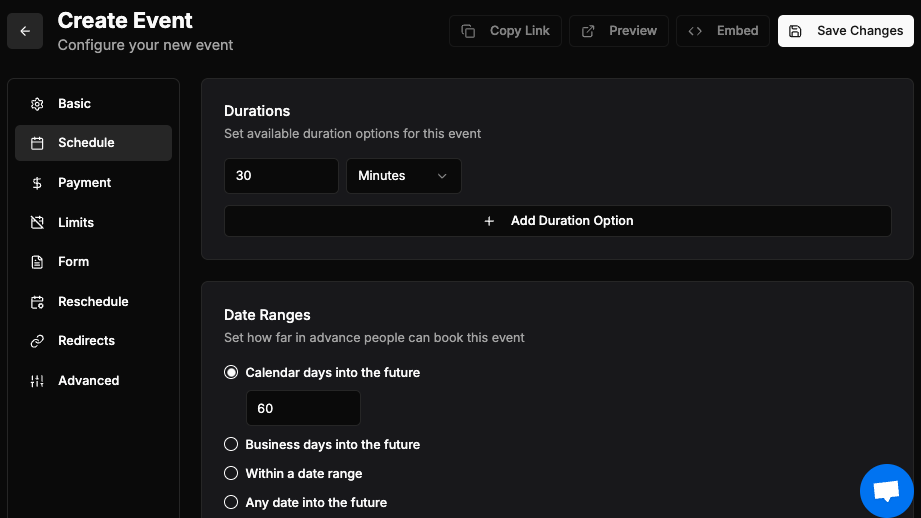
Dates and Duration
The Dates Option allows you to add a date range for your event i.e. when the meetings can be accepted in the future for this online event.
And set the duration to configure how long the meeting will run.
We have four different options for adding dates:
-
Calendar days into the future
You can add several days starting fromtodayinto the future. It includes Saturday and Sunday too to set maximum days in your appointment booking calendar -
Business days into the future
The business days mean it will not count weekends (Saturday and Sunday). For example,
If you set 60 business days - DaySchedule Appointment Booking plugin will calculate 60 days in future excluding weekends. -
Within a date ranges
You can manually add the date range for the event to configure the start and end date for appointment acceptance. No booking appointment will be accepted after the end date. -
Any days into the Future
This can add infinite days into the future
For adding Duration we have two different options:
- One is to select one of the given options from the radio box,
- And, the other is manually enter the duration in ‘minutes’ in the given input box.
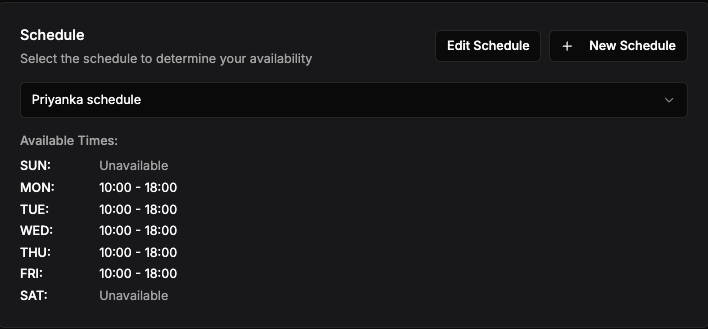
Scheduling
The schedule feature allows you to select your default schedule or create new to specify your availability for a particular event.
- For example, I have selected my default schedule for this event.
Break time
The Break option allows you to add a time gap between two meetings for a break, coffee, etc. These breaks can help the host to get some time before or after the meeting to prepare, wrap up, etc. It also helps in case any meeting continues even after its scheduled end time then it will not affect your upcoming meetings.
The DaySchedule event booking application allows you to add break time before and after the meeting.

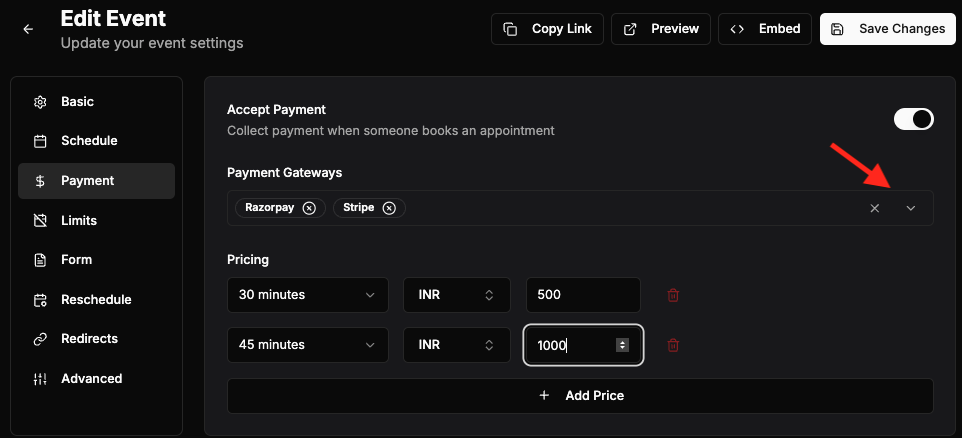
Accept Payments
Now using DaySchedule platform you can easily accept online payments for your appointments.
Just enable the “Accept Payment” option to collect payments when clients book with you. Simply choose your preferred payment gateway from the dropdown > set your pricing according to your service. And you’re ready:)
Limit Bookings and Public Visibility
DaySchedule provide the “Limit Booking” option, allowing you to set the maximum number of bookings per day or overall.
By default, all events are public and will be visible on your personal scheduling link. Just use the option to hide an event from your main scheduling page.
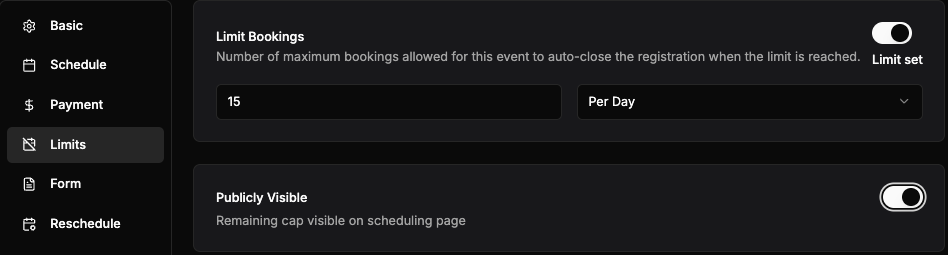
You can also hide or show the event on your main scheduling page by using the Publicly Visible option. This option will help you to create the event as a draft and then publish it when you are ready to accept online booking for your event.
Remember, making an event private means anyone having this event link still can book this event. So, you can share the event link with the person you want and only those invitees with the link can book this event with you.
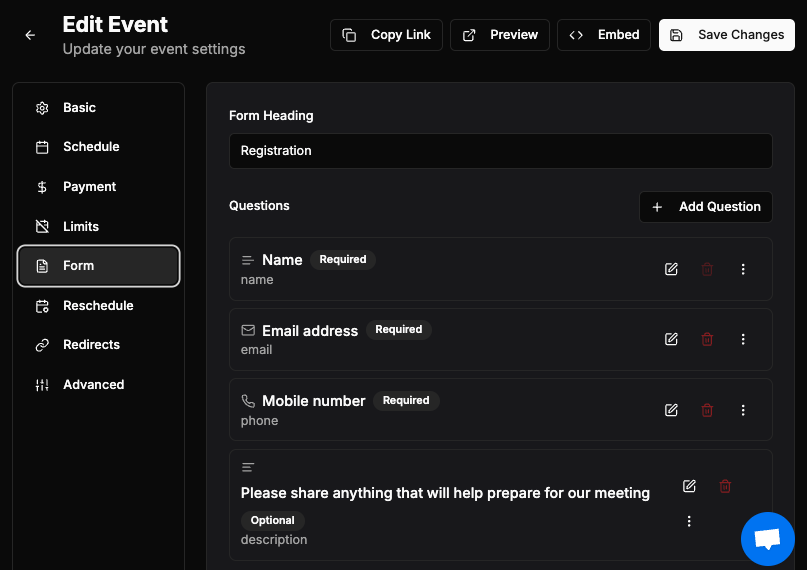
Invitee Questions Form
The invitee question option is a good way to collect information about the invitee in a simple way when scheduling an event for example, the Name and Email address of the invitees by default.
Or you may add custom questions like business name, or phone number of invitees.
To Add Questions
- Enter the question you want to ask in the
Questiontext box - Select the Answer type, and if it is a multiple choice questions then add the options.
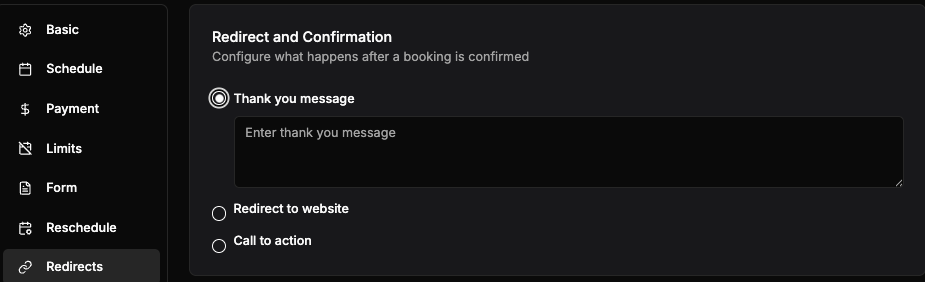
Redirect and Confirmation
This confirmation option allows you to add an external website link on the default DaySchedule confirmation page or you can redirect invitee to an external website or on your own custom thank you page after the booking for an event is confirmed.
DaySchedule gives you 3 confirmation options:
-
Default - This will show the default DaySchedule confirmation page after the booking for an event is confirmed
-
Link - User with the pro account use this option to add an external website link on the DaySchedule confirmation page
-
Redirect - User with the enterprise account use this option to redirect to an external website with or without booking data
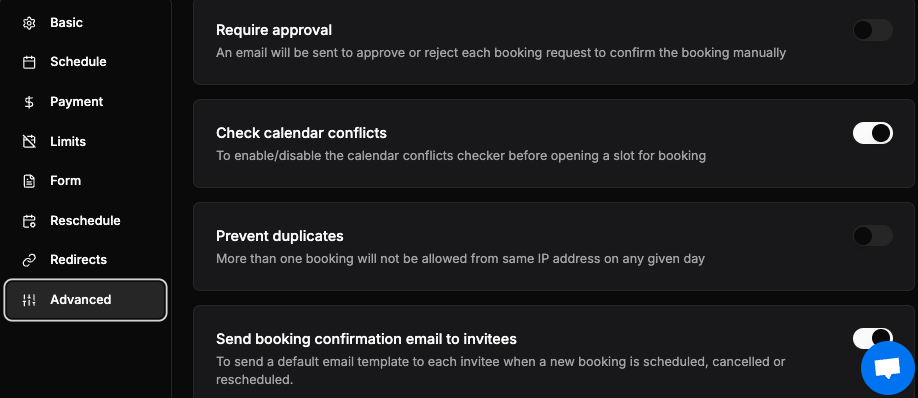
Advance Features
DaySchedule added a new Advanced tab packed with features like preventing duplicates, hiding time zones, short links and many more. Simply toggle them on or off as per your requirements.
Allow Guest for Meeting
If you want your invitees to allow guests, enable the Guests allowed option in “Advance option” to let invitee add up to 10 guests.

Meeting Link
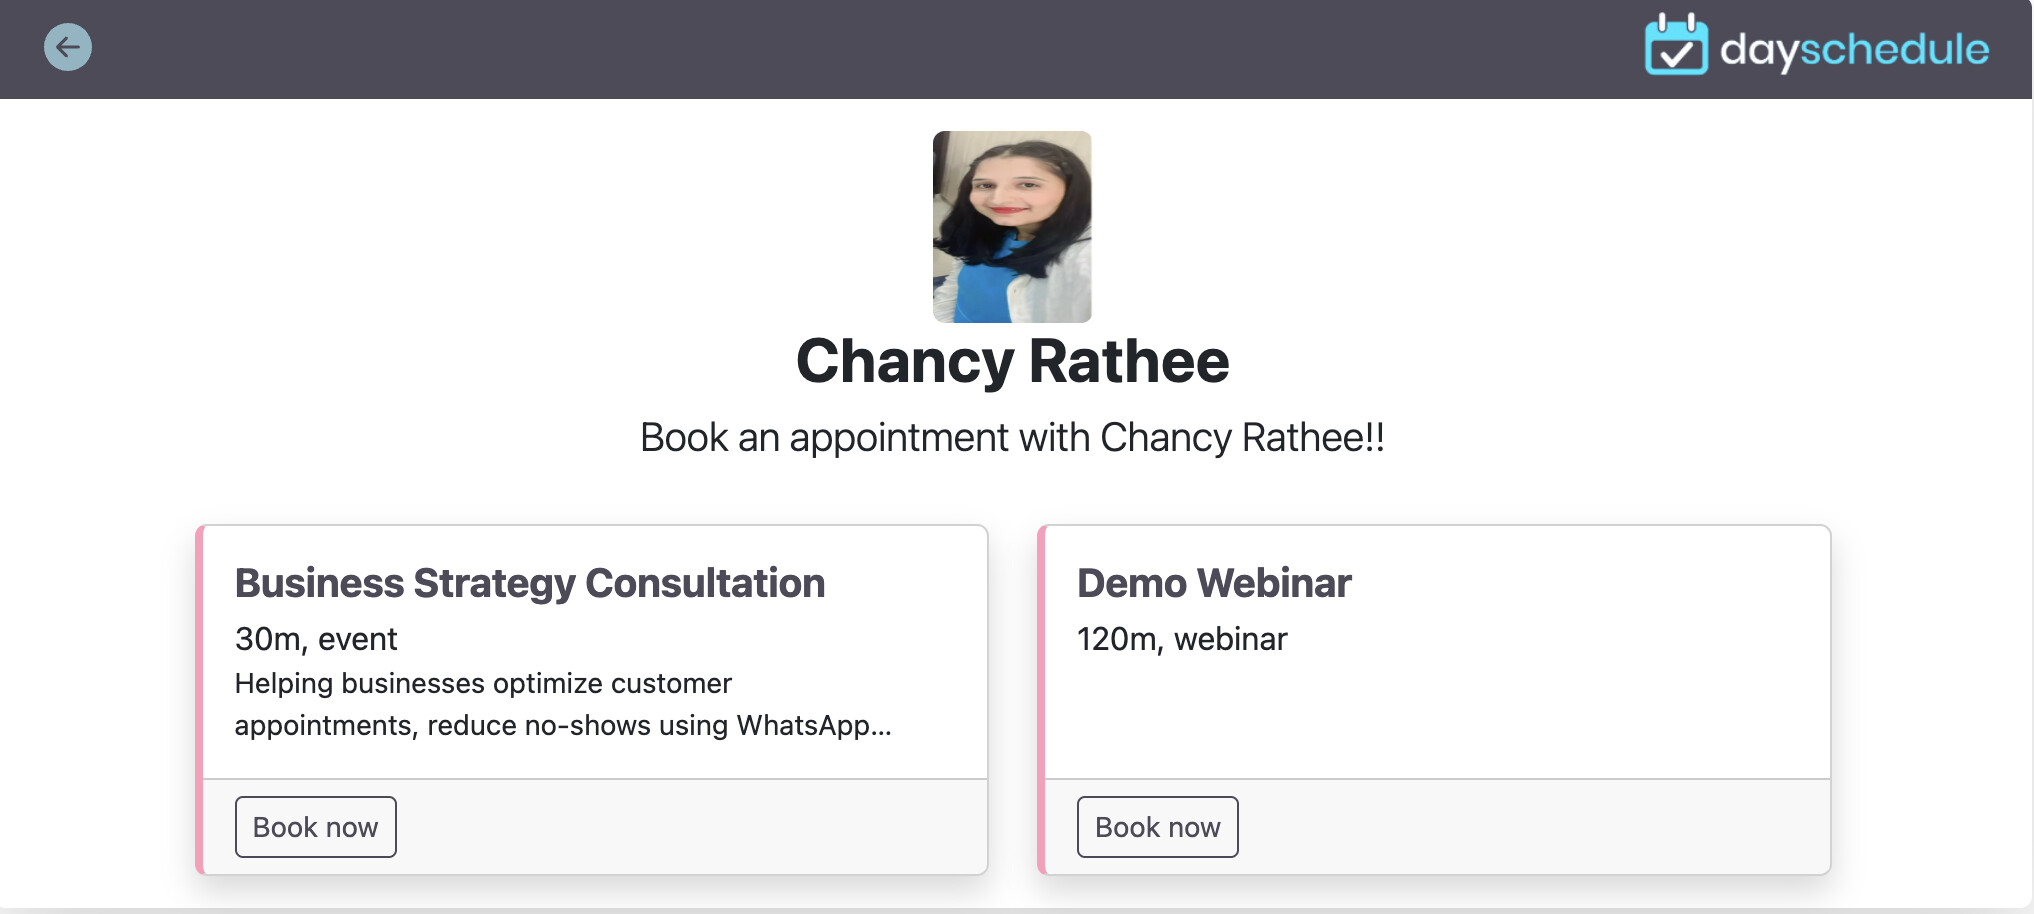
So, you can see an appointment link created successfully. Now, You can share this link with your invitees or add this link on your website, email signature and blog etc…
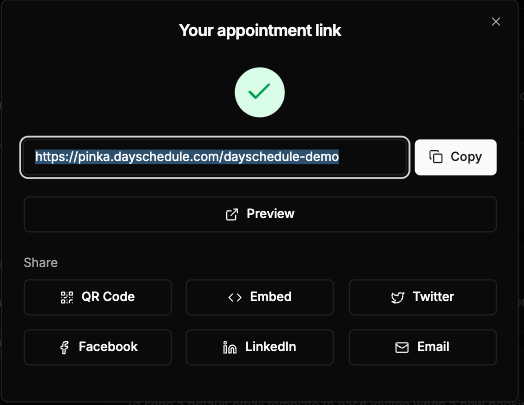
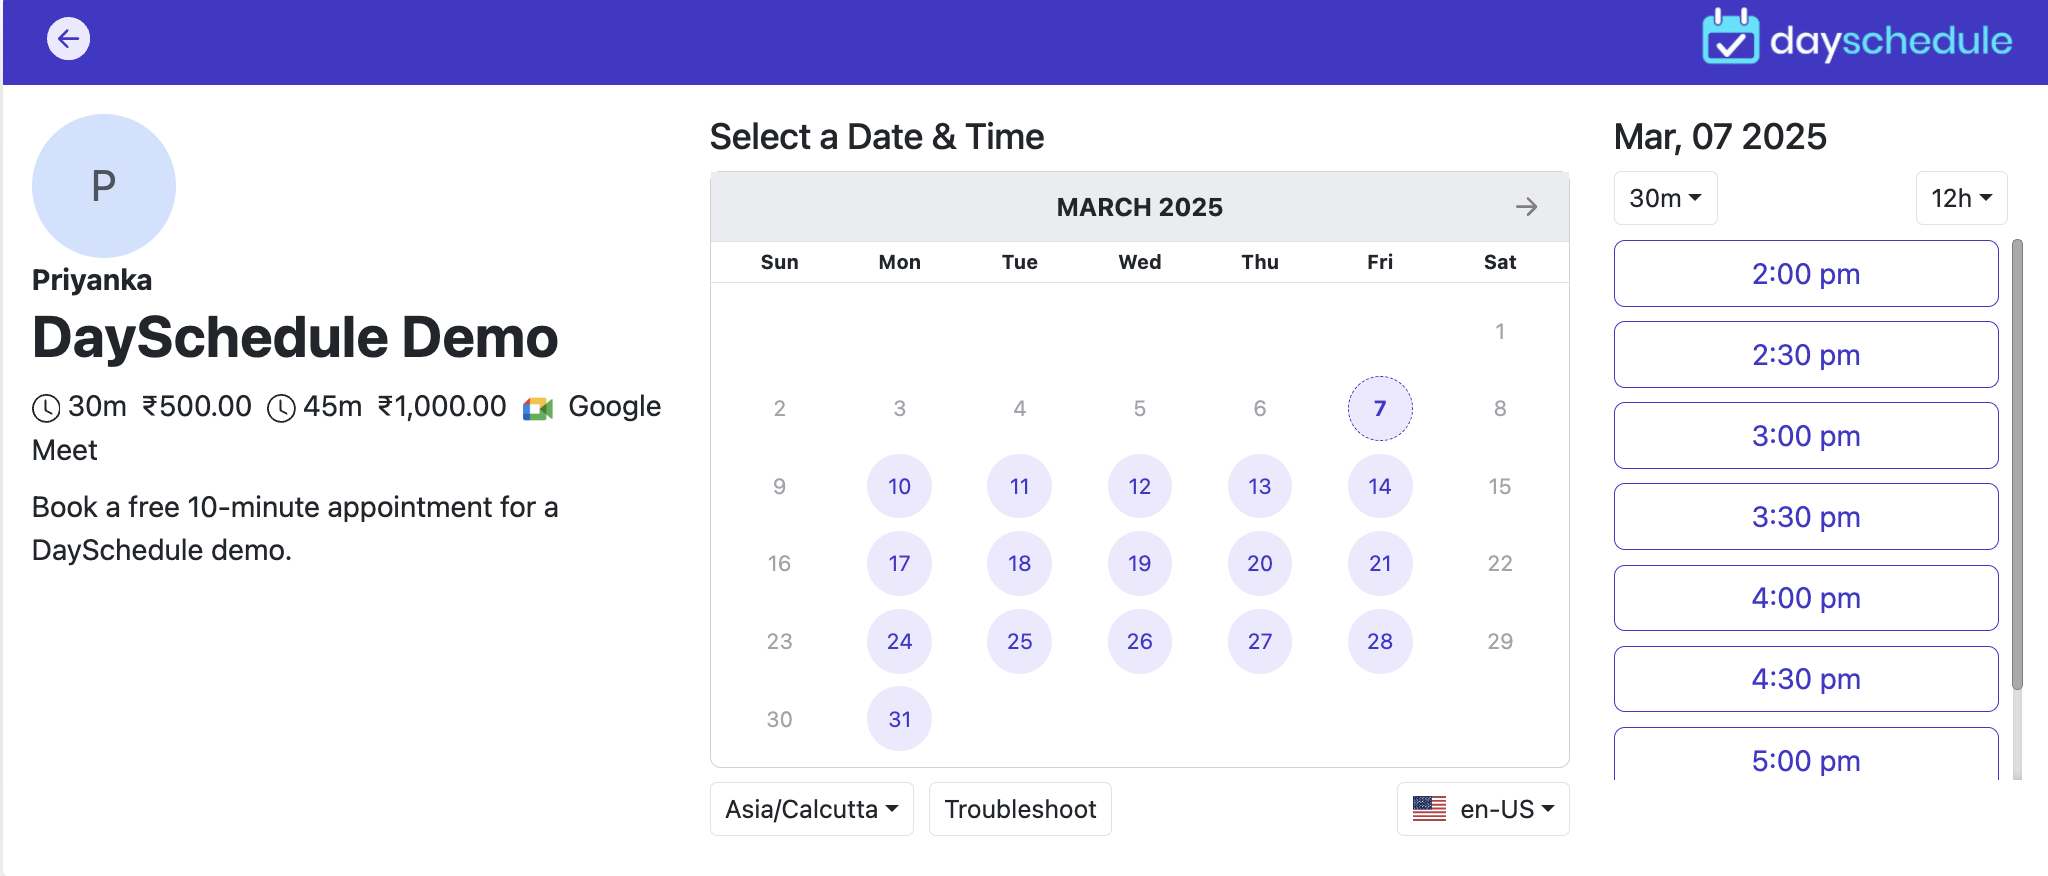
And now your appointment page with your availability is ready to book:
Edit an Event
- To edit an event, click on the 3 dots given on the Event. Then, click on the
Edit
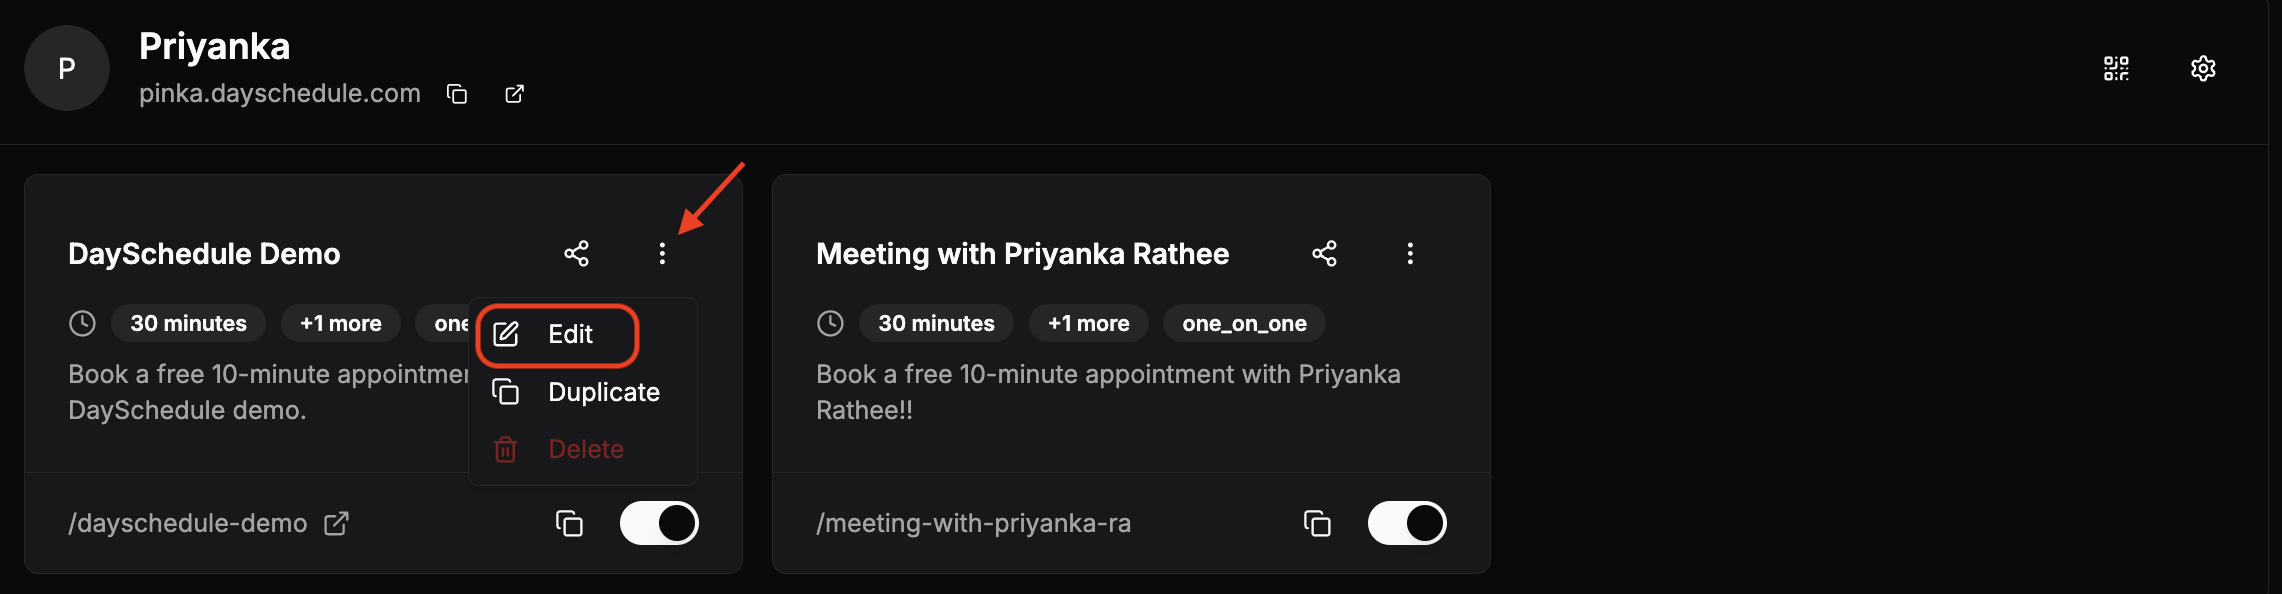
- Select the field which needs to be updated.
- Then, click on the Save button and you will see the message like Event updated successfully.
Delete an Event
- To delete an event, click on the 3 dots given on the Event.
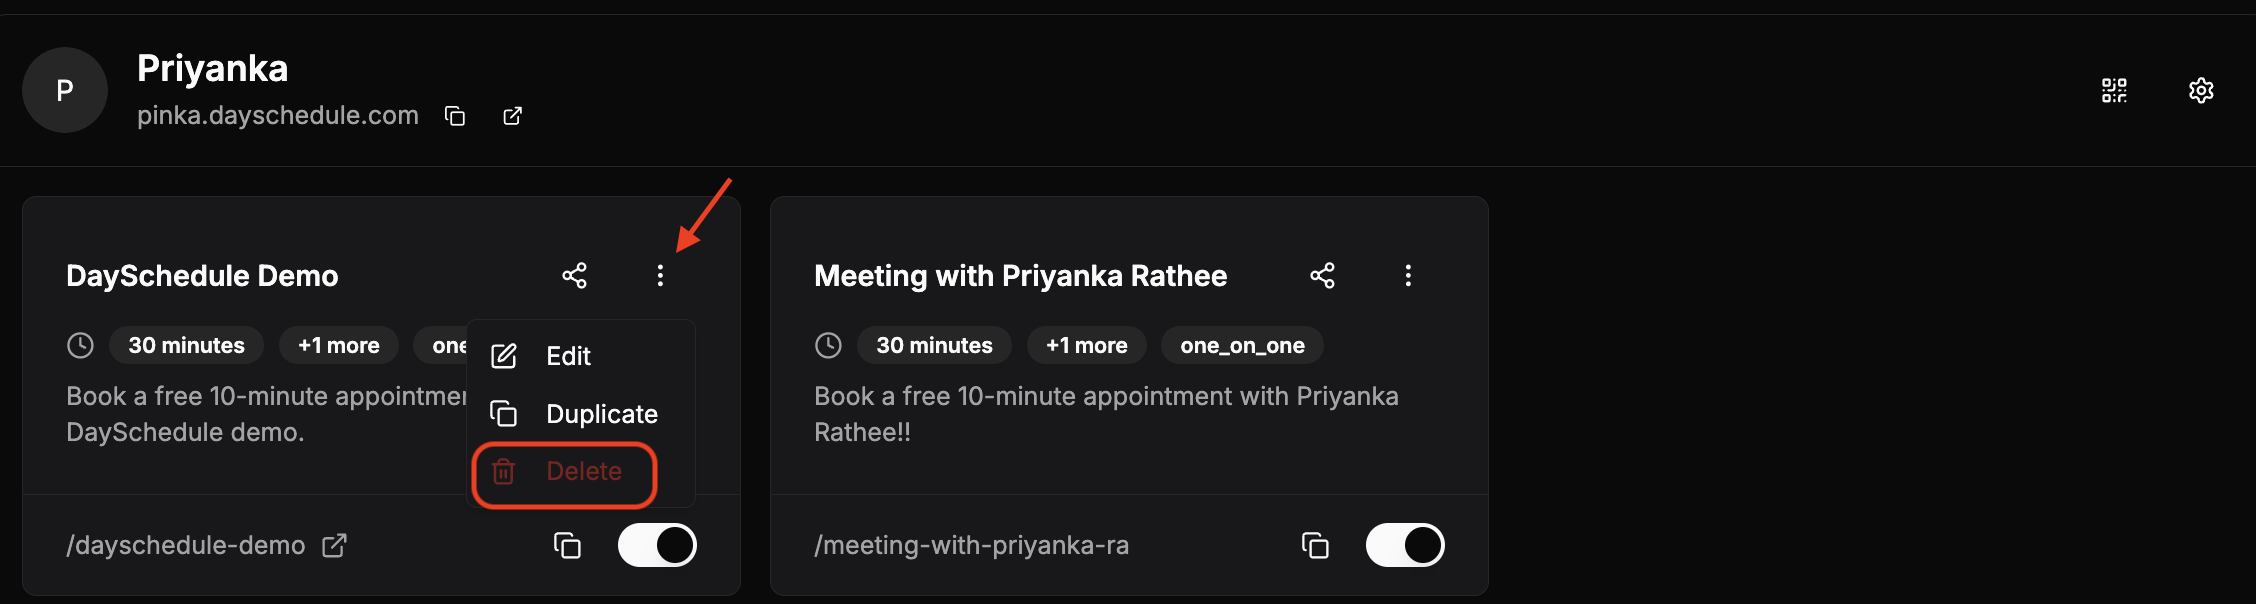
- Then, click on
Delete this Eventoption.