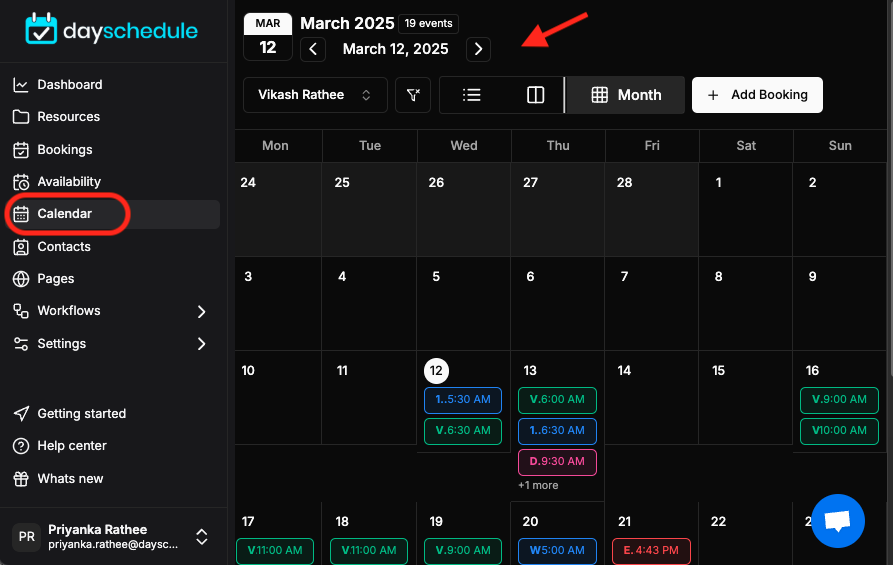
The Booking Management page is a user-friendly platform for scheduling and managing bookings. The calendar feature on the page displays all scheduled appointments and events in a clear and organized manner, making it easy to view bookings by month, week, and day.
These 7 statuses help determine the current state of a booking, whether it’s confirmed, awaiting action, canceled, or completed.
| Status | Description |
|---|---|
| processing | Booking is in the server queue and being processed (add to calendar, zoom etc.) |
| confirmed | Booking has been successfully confirmed |
| cancelled | Booking has been cancelled |
| waiting | Booking is waiting for payment to be completed |
| pending | The booking is pending for manual approval as the require approval option has been enabled on selected resource |
| noshow | The booking is marked as no-show when customer did not show up or joined the meeting |
| completed | Booking has been marked as completed by the organizer |
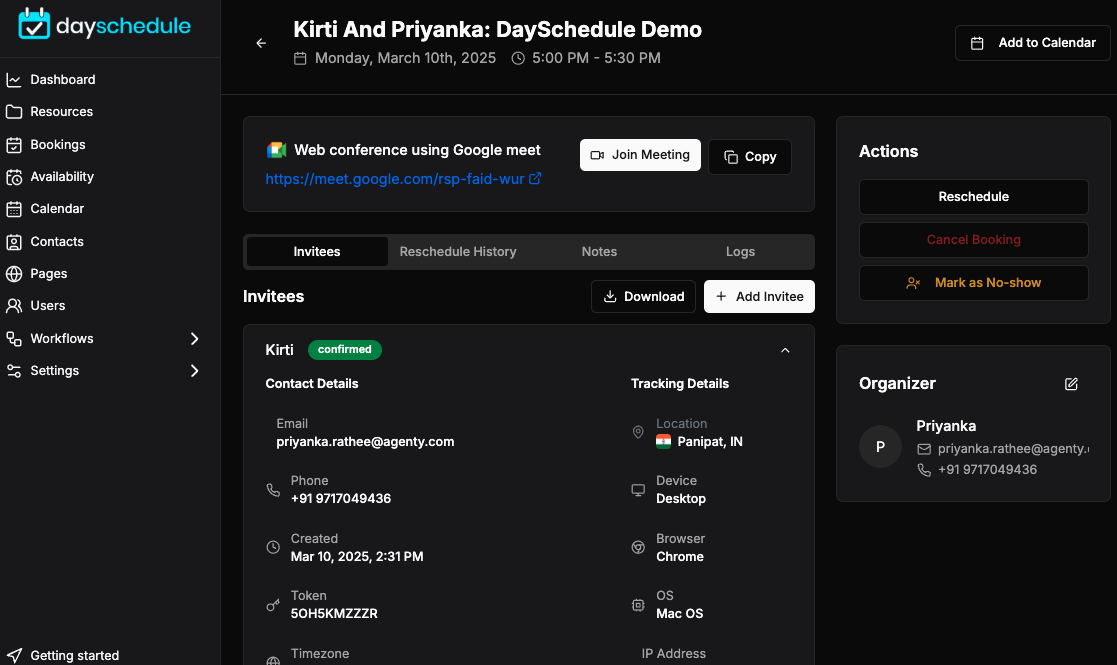
View Booking Details
- Go to Calendar menu
- Select the Booking from the calendar which will further show the booking details
Create New Booking
- Go to calendar or booking page (can create from both page)
- Click on the “Create Booking”
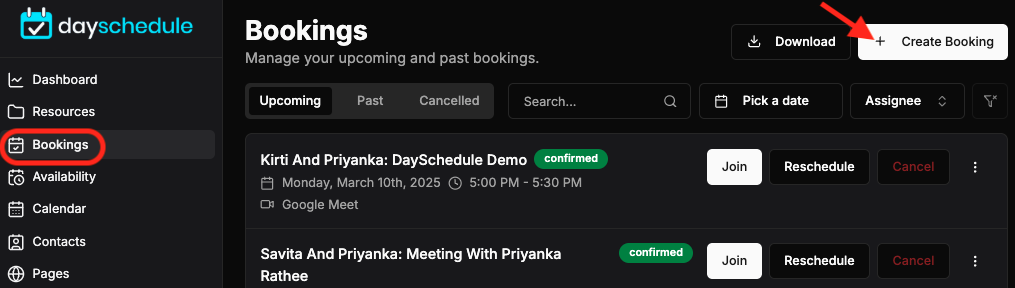
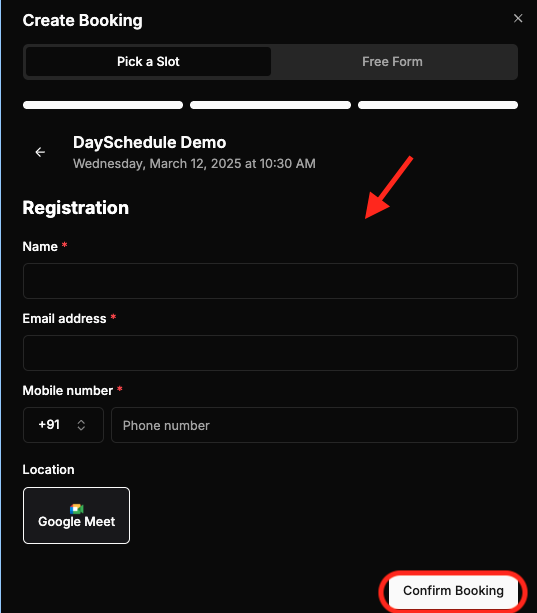
- Enter the details and click on the *Confirm Booking button to create a new booking
Reschedule Booking
- Click on the specific booking you want to reschedule
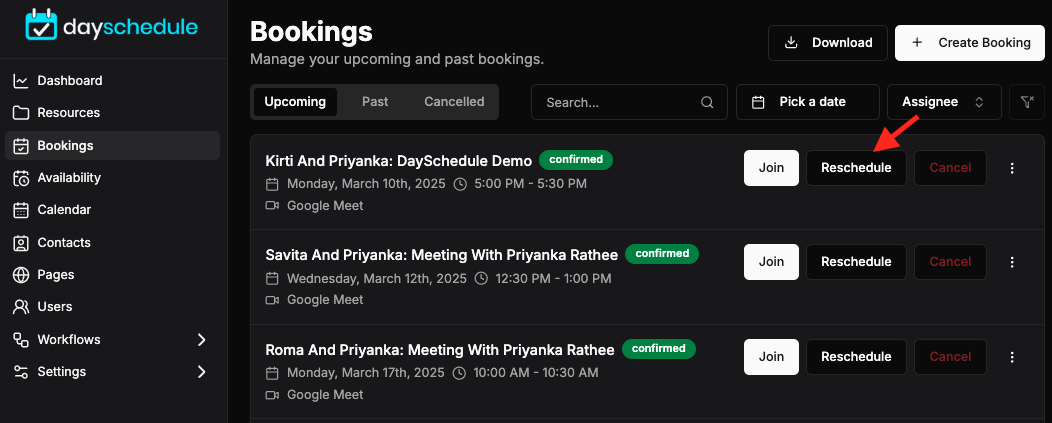
- It will open the booking detail, in which there is a button for Reschedule
- To update, click on the Reschedule button which will take you to the schedule page to book again, select the date and time

- Give a reschedule reason and click on confirm booking button.
Cancel Booking
- Click a specific booking to cancel it, which will open the booking details
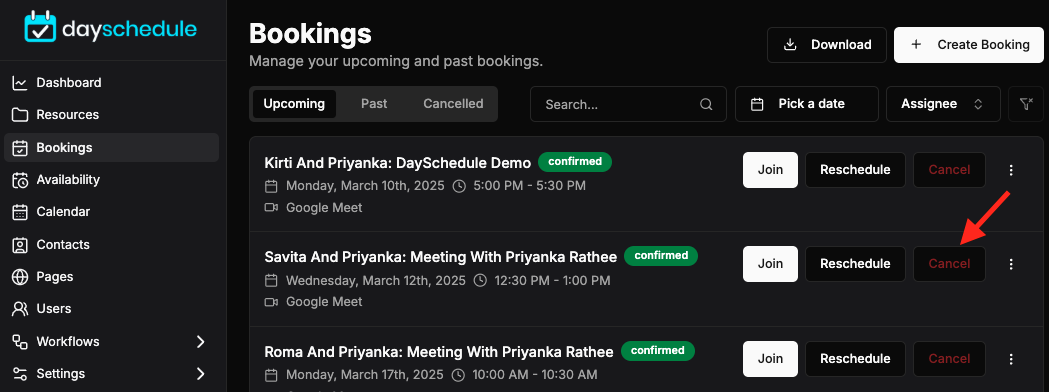
- In booking details, click on the Cancel button
- Fill in the cancel reason for the booking
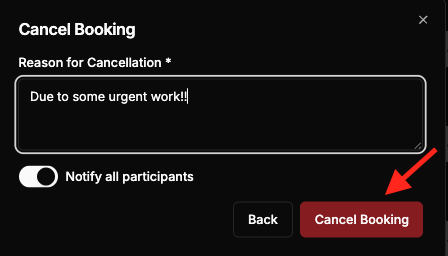
- Click on Cancel this booking button
Multiple Calendar Synchronization
To ensure that you never miss a booking, the page also includes a feature for synchronizing multiple calendars. To access this feature, simply go to the filter icon located on the top left corner of the Bookings page.
- To access this feature, simply go to the filter icon located on the top left corner of the Bookings page
- All integrated calendars will be listed in a dropdown menu. You can select the calendar you wish to view by using the checkbox beside the calendar name
- By selecting the checkbox, all the bookings from the selected calendar will be displayed on the page, allowing you to easily manage and schedule appointments and events
- This feature ensures that you never miss a booking, allowing you to stay organized and on top of your schedule
By following these steps, you can quickly find the information you need for better appointment booking management.