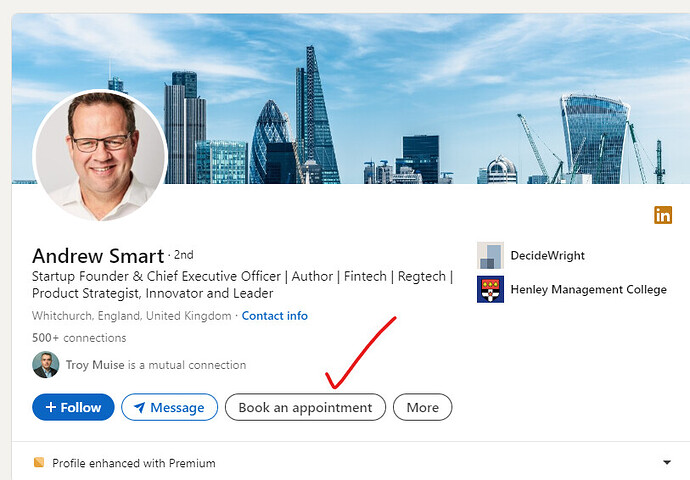
LinkedIn is a popular social media platform designed specifically for professionals, and having a compelling LinkedIn profile with an appointment scheduling link can increase your appointments from customers visiting your profile on LinkedIn.
There are 2 ways to add an appointment booking link on your LinkedIn profile :
- Using custom button (LinkedIn premium only)
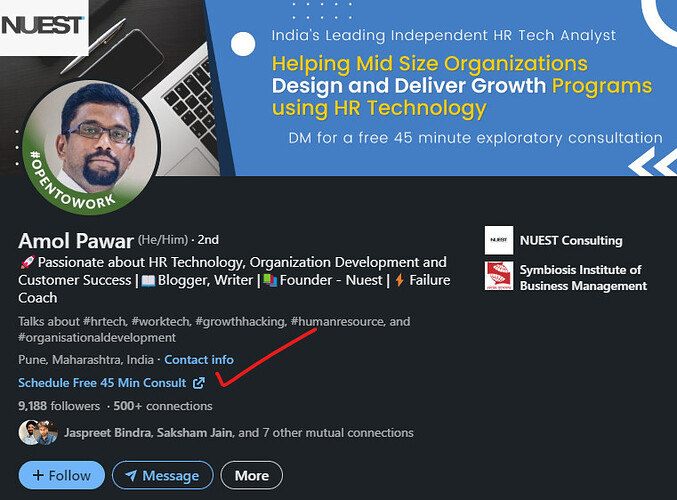
- Using website link
Prerequisites
- Must have a public scheduling link with at-least 1 event, webinar or service. (Signup if you are new)
- Must have a LinkedIn profile
Appointment button
The custom button feature is available on LinkedIn premium only and display a Book an appointment button on your profile, posts etc. to increase your bookings or sessions .
Adding the “Book an appointment” button in your profile is a superb way to convert more customers and increase the conversion.
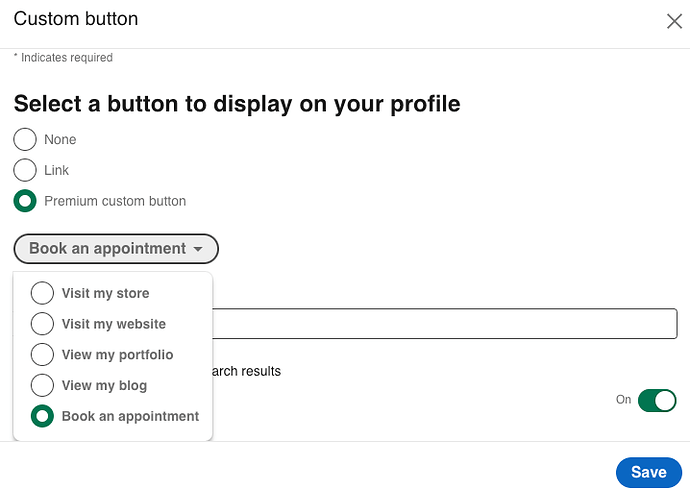
Follow these steps to add the custom button -
- Click on the pencil button to edit your profile
- Scroll down to Custom button section and add a custom button
- Select the Book and appointment button type
- Enter your DaySchedule booking page URL and save
Once saved, the link will be visible on all your posts, chat and profile.
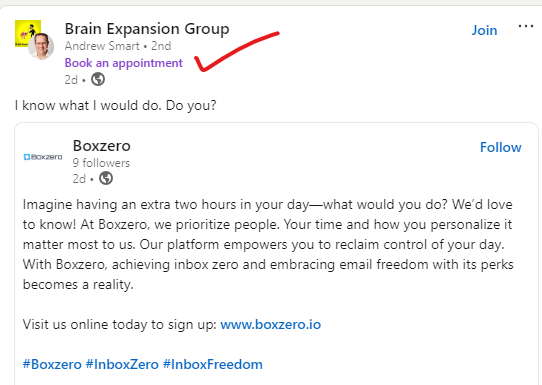
Appointment link
Before I jump on the step-by-step guide, let me show you how it will looks like to let people schedule an appointment or meeting with you.
To add a book an appointment link on your LinkedIn profile, you can follow these steps:
- Sign in to your LinkedIn account and go to your profile page.
- Click on the “Edit” button in the top right corner of your profile.
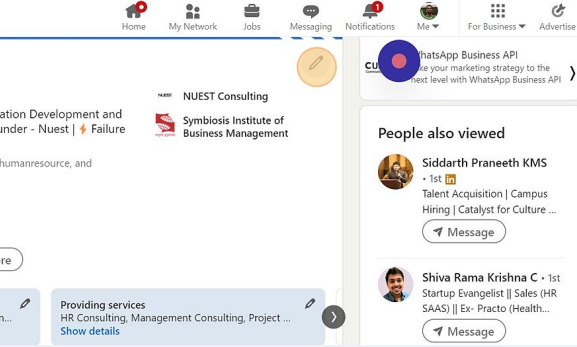
- Scroll Down to find the “Website” section.
- In the “Contact Info” editor, click on the “Add website” button.
- In the “Website” field, enter the URL of your day schedule link. Give any custom name to this link in the “Link Text” field. This text is what will appear on your LinkedIn Profile

- Click “Save” to add the link to your profile.
