
Invitees pay on your booking page as part of booking, so you don't have to chase payments after the meeting. DaySchedule supports Stripe, PayPal, Razorpay and Cashfree. The money goes straight to your own gateway account.
Connect a payment gateway
Open Settings, then Connections, filter by the payment category and connect your gateway. Each one has a setup guide:
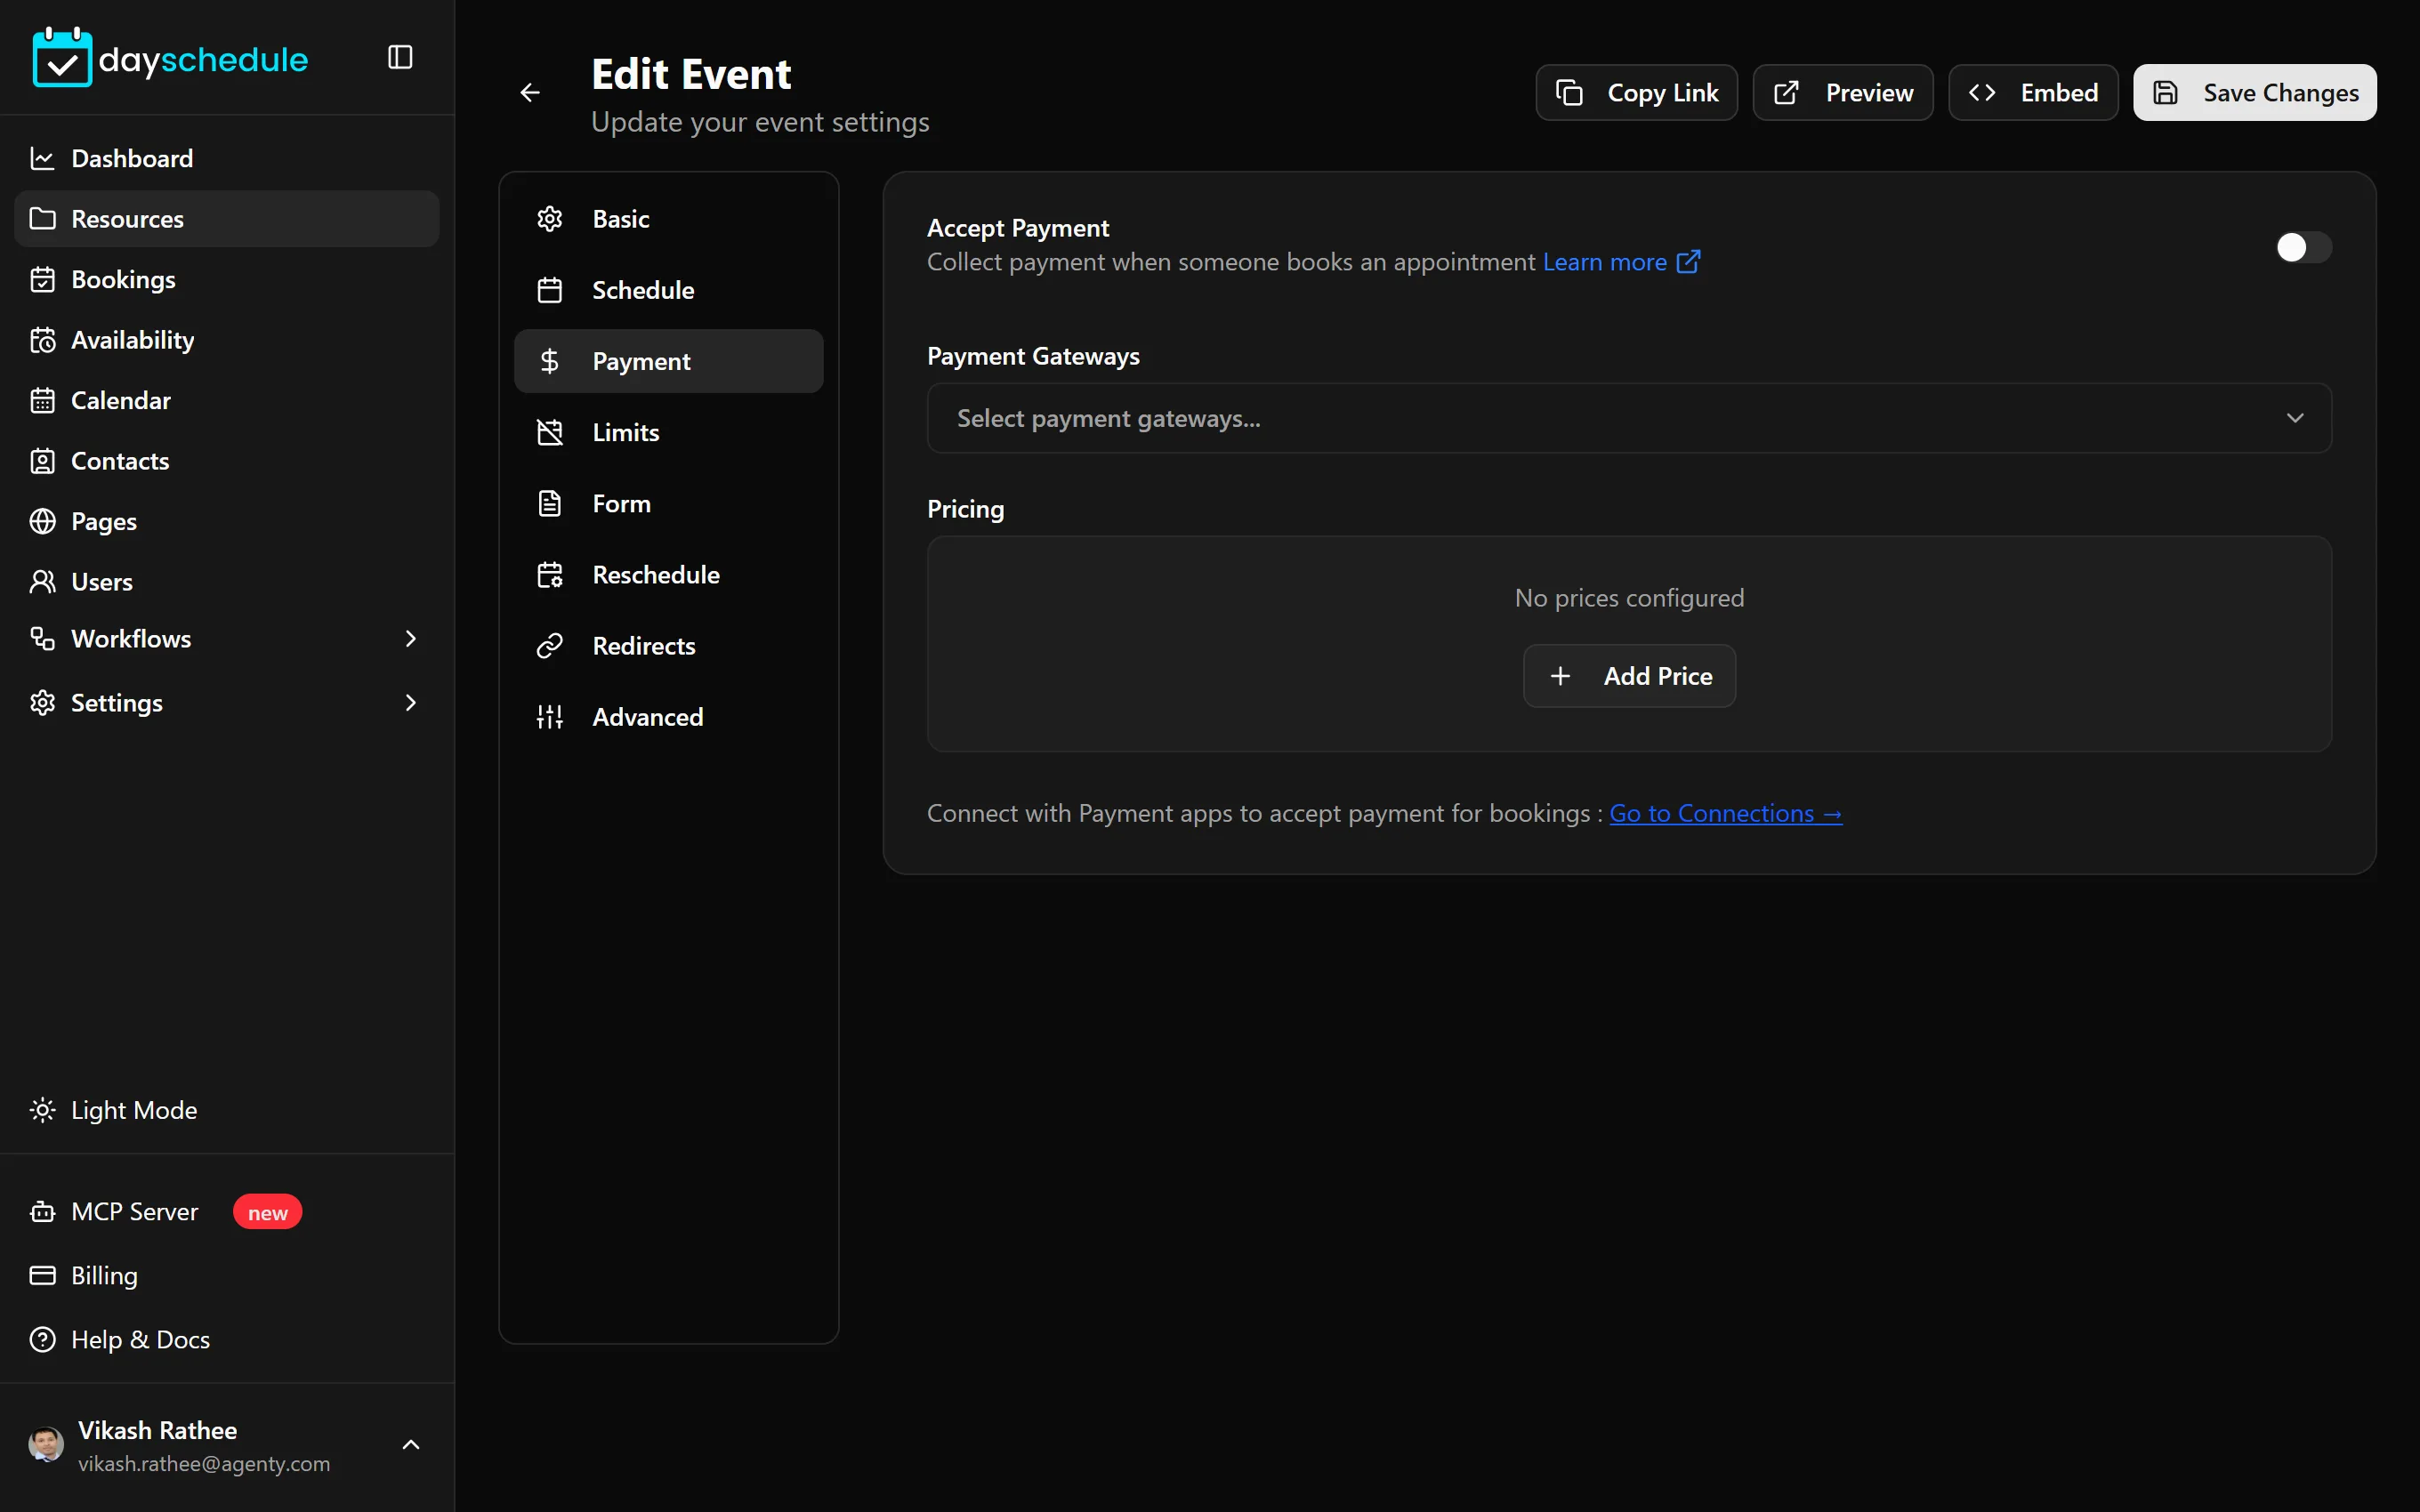
Until a gateway is connected, the Payment tab shows "No payment gateway connected" with a link to Go to Connections.
Charge for an event
- Open the event from Resources and select the Payment tab.
- Turn on Accept Payment.
- Under Payment Gateways, select one or more connected gateways. With more than one, invitees choose how to pay.
- Under Pricing, click Add Price and enter a name, the currency and the amount, such as "Consultation, USD, 50".
- Click Save Changes.
Add more than one price to offer options, for example a standard and an extended session. Payments work with one-on-one, group, round robin, webinar and venue bookings. For a service menu, prices are set per service on the Services tab instead.
Payment integrations are part of the paid plans. On the free plan, the tab shows "Upgrade to Access Payment Integration". See plans and billing.
See what an invitee paid
Open the booking from Bookings. Each invitee's Payment Details show the Amount, Payment Gateway and Transaction Id. If someone paid you another way, such as cash at the front desk, use Add Payment Details when you add or edit the invitee to record it.
To see revenue over time, open the Bookings tab of the dashboard.