
dayschedule-widget is an open-source JavaScript package that opens your DaySchedule booking page in a popup, or renders it inline as a web component. It works in plain HTML and in any framework. The widget page has a live demo of each option.
Plain HTML
Load the script from jsDelivr and call daySchedule.initPopupWidget() from a button:
<script src="https://cdn.jsdelivr.net/npm/dayschedule-widget@latest/dist/dayschedule-widget.min.js" defer></script>

<button onclick="daySchedule.initPopupWidget({ url: 'https://acme.dayschedule.com' })">
  Book an appointment
</button>
For an inline calendar instead of a popup, use the <dayschedule-widget> element:
<dayschedule-widget url="https://acme.dayschedule.com/strategy-call"></dayschedule-widget>
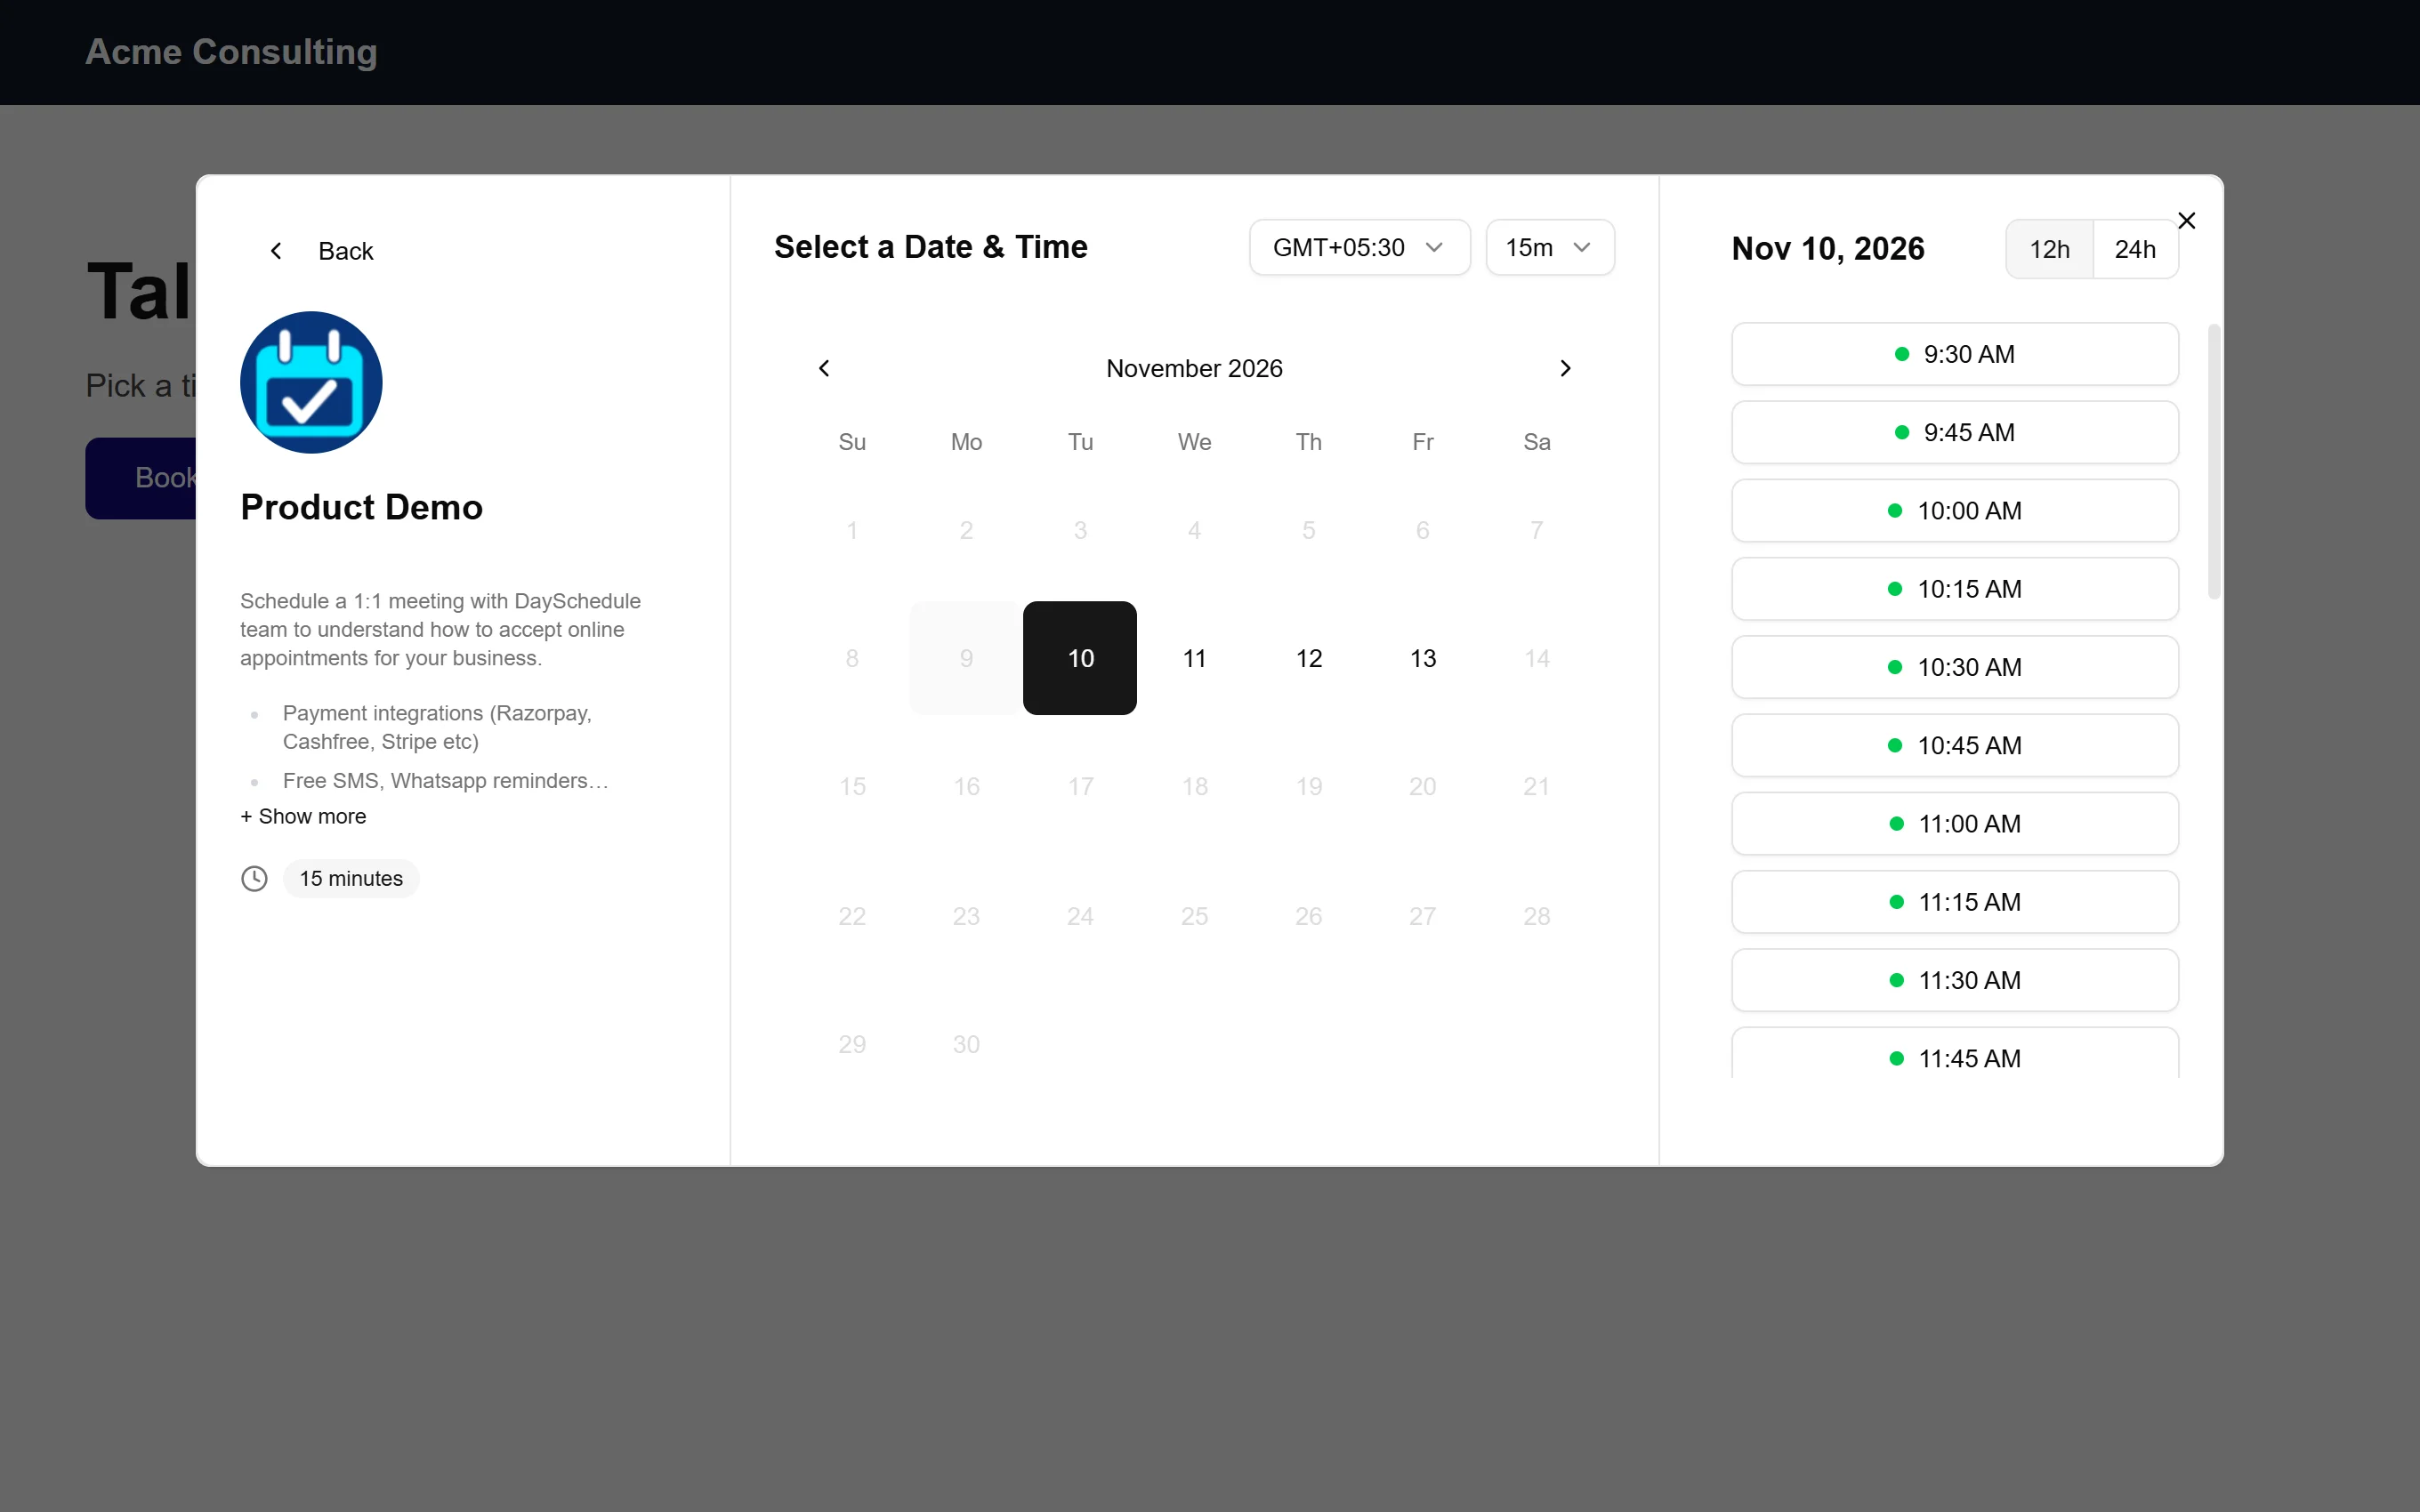
Use your page link to show every event, or an event link to open one calendar directly. See Share your booking link.
React
Install the package:
npm install dayschedule-widget
Create a button component. Importing the package adds window.daySchedule and the popup styles:
import 'dayschedule-widget';

export default function BookingButton() {
  const openBooking = () => {
    window.daySchedule.initPopupWidget({ url: 'https://acme.dayschedule.com' });
  };
  return <button onClick={openBooking}>Book an appointment</button>;
}
Use <BookingButton /> anywhere in your app.
Next.js
The widget needs the browser, so mark the component with 'use client' and load the package when the button is clicked. A top-level import would also run during server rendering, where the browser APIs it uses don't exist.
'use client';

export function BookingButton() {
  const openBooking = async () => {
    await import('dayschedule-widget');
    (window as any).daySchedule.initPopupWidget({ url: 'https://acme.dayschedule.com' });
  };
  return <button onClick={openBooking}>Book an appointment</button>;
}
Import it into any page or layout in the App Router. The same component works in the Pages Router. Loading on click also keeps the script off the page until someone wants to book.
Vue and Nuxt
<template>
  <button @click="openBooking">Book an appointment</button>
</template>

<script setup>
import 'dayschedule-widget';

const openBooking = () => {
  window.daySchedule.initPopupWidget({ url: 'https://acme.dayschedule.com' });
};
</script>
In Nuxt, the top-level import also runs on the server. Load the package inside the click handler instead, as in the Next.js example: await import('dayschedule-widget') before calling initPopupWidget().
Angular
Install the package, import it in the component and call the widget from a click handler:
import { Component } from '@angular/core';
import 'dayschedule-widget';

@Component({
  selector: 'app-booking-button',
  standalone: true,
  template: `<button (click)="openBooking()">Book an appointment</button>`,
})
export class BookingButtonComponent {
  openBooking() {
    (window as any).daySchedule.initPopupWidget({ url: 'https://acme.dayschedule.com' });
  }
}
Widget options
Pass these to initPopupWidget():
| Option | What it does |
|---|---|
url |
Your booking page or event link. Add ?date=2026-05-18 to open the calendar on a date. |
color |
{ primary, secondary, mode }: hex colors to match your brand, and mode set to light or dark |
questions |
Prefills the form, for example { name: 'Jane Doe', email: 'jane@example.com' } |
hideHeader |
true hides the header and the DaySchedule logo |
hideEvent |
true hides the event name, description and logo, showing only the calendar |
This example opens one event with brand colors and the logged-in user's details filled in:
daySchedule.initPopupWidget({
  url: 'https://acme.dayschedule.com/product-demo',
  color: { primary: '#f44336', secondary: '#fbbdb8' },
  questions: { name: user.name, email: user.email },
  hideHeader: true,
});
The inline element takes the same options as a JSON string in its options attribute:
<dayschedule-widget
  url="https://acme.dayschedule.com"
  options='{ "color": { "primary": "#0f0980", "secondary": "#afeefe" } }'>
</dayschedule-widget>
Full examples
Each framework has a full walkthrough with a runnable example. Some older walkthroughs import dist/dayschedule-widget.js and dist/dayschedule-popup.css. Current versions of the package bundle both, so import 'dayschedule-widget' is enough.
On WordPress, use the DaySchedule plugin instead.