
Use Razorpay to take appointment payments in rupees. Invitees pay with UPI, a debit or credit card, net banking or a wallet such as Paytm or PhonePe, and the booking is confirmed when the payment succeeds.
Connect Razorpay
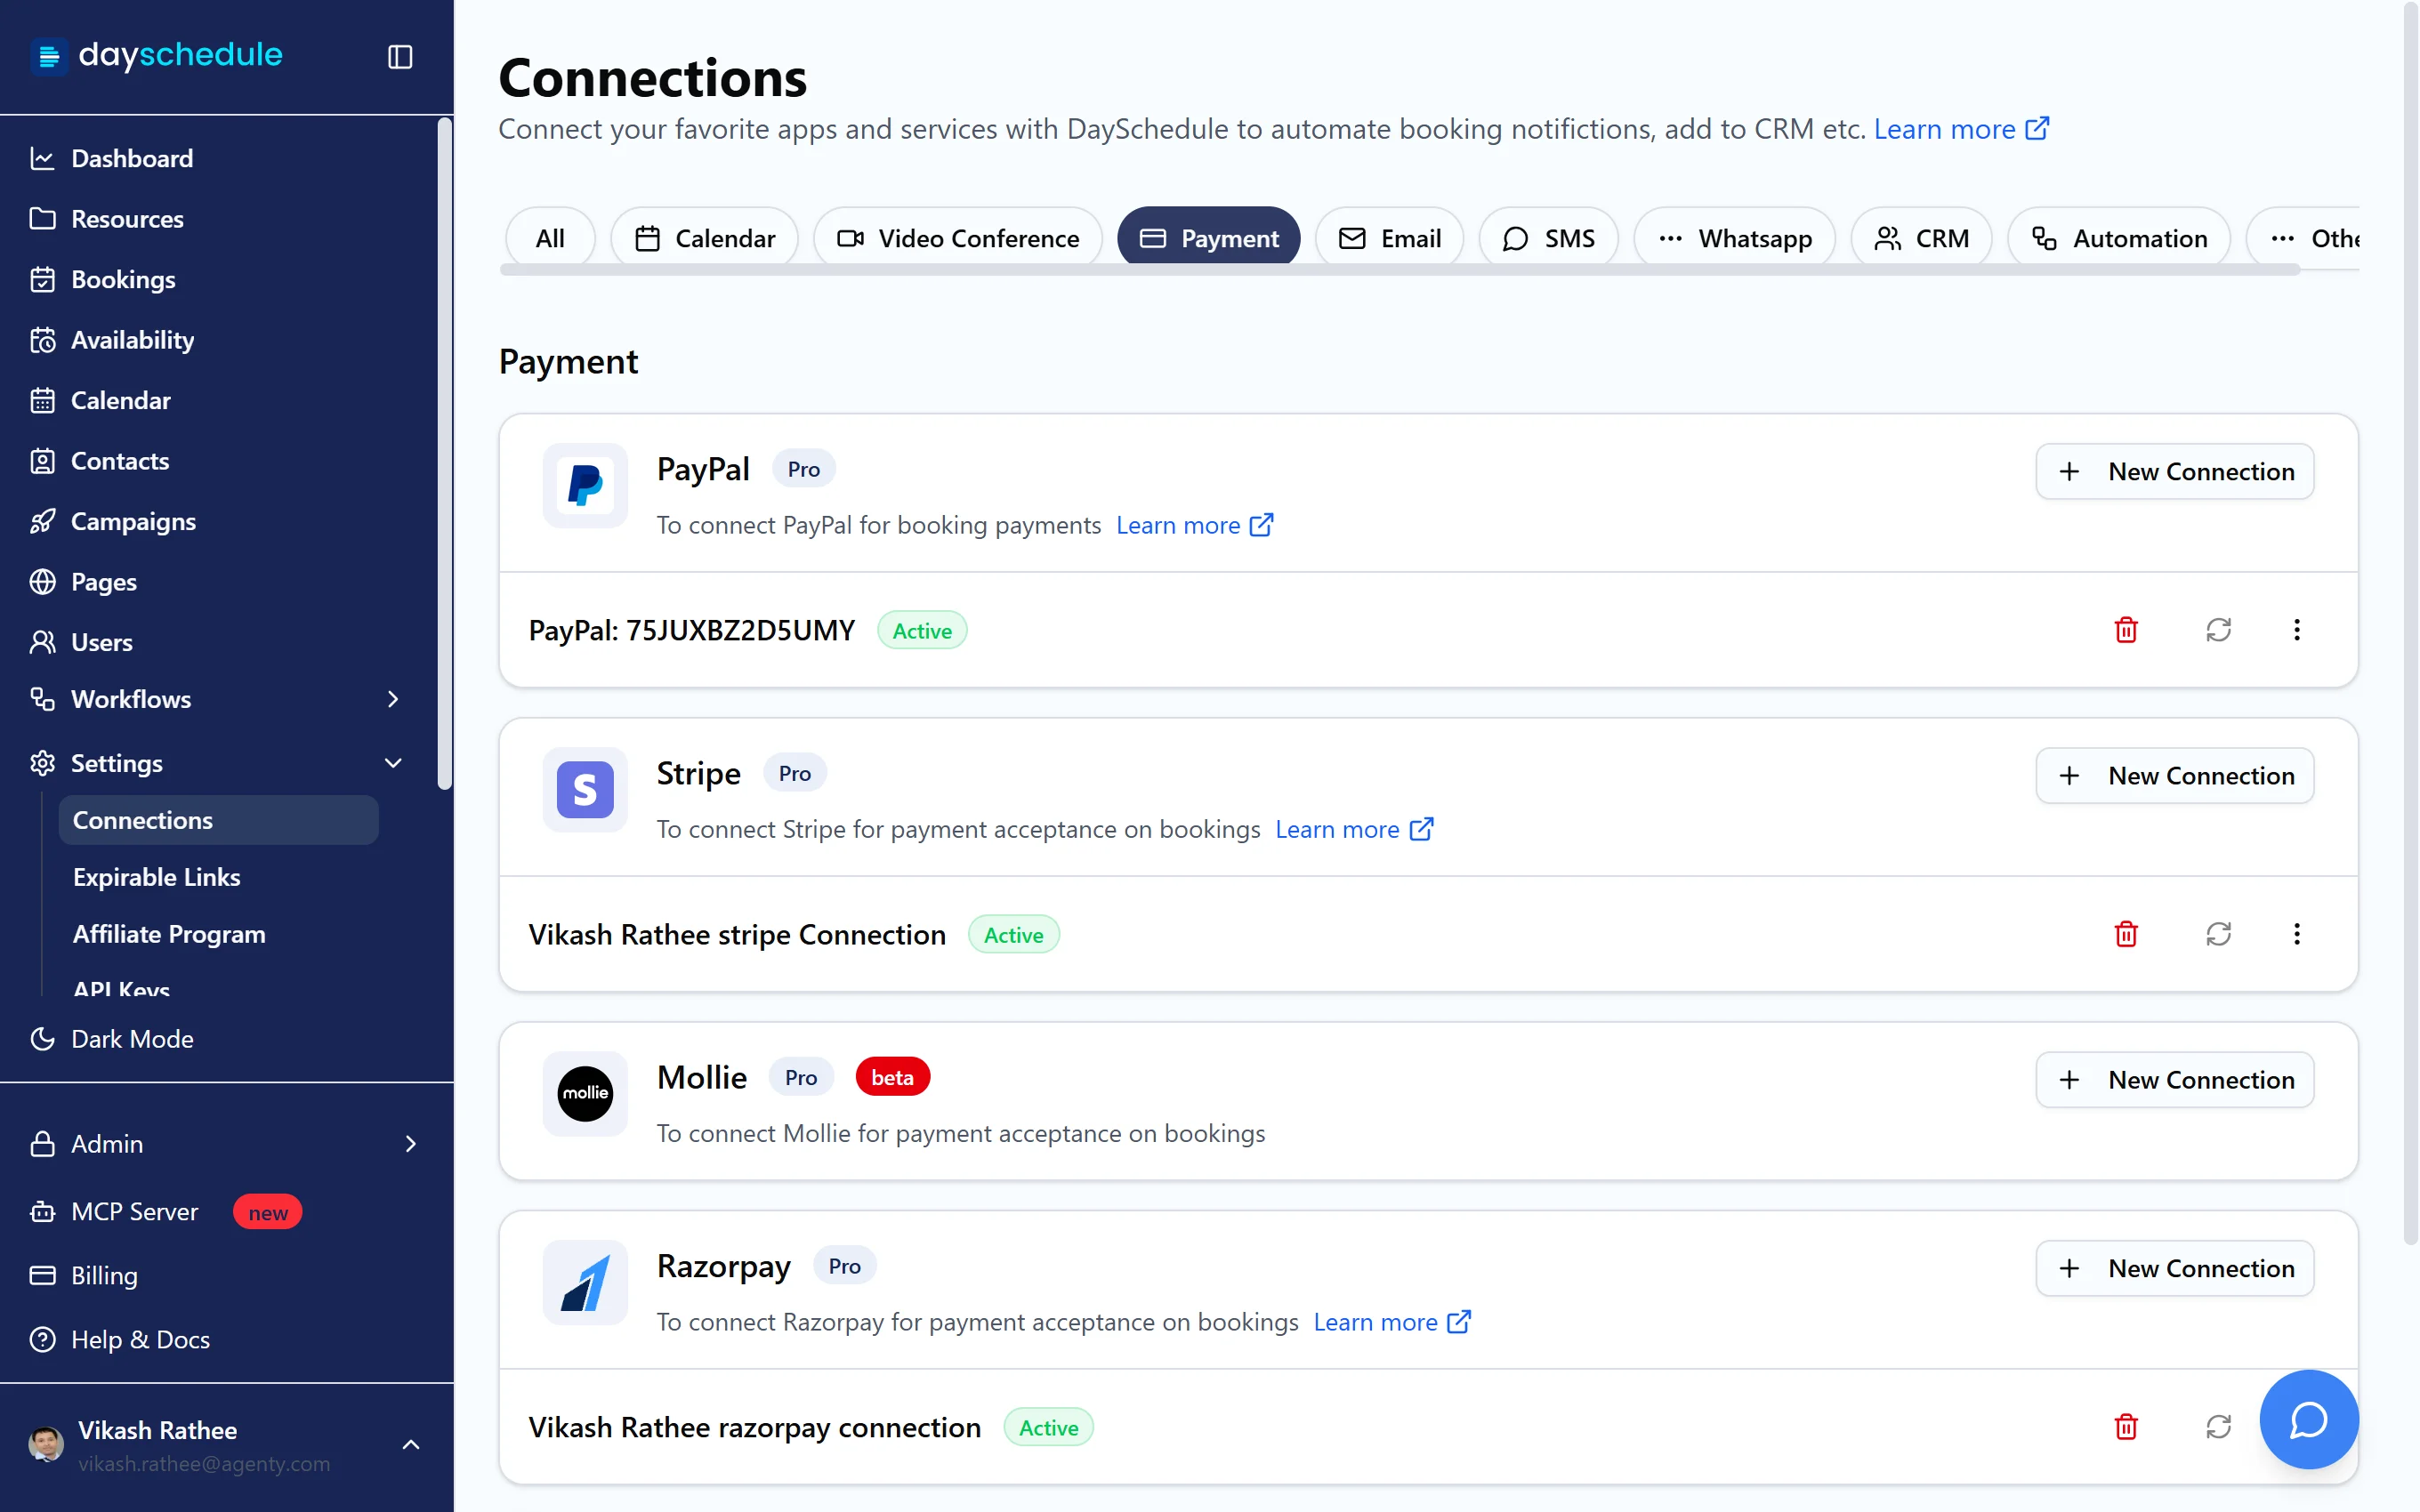
- Open Settings, then Connections, and select Payment.
- Find Razorpay and click New Connection.
- Sign in to Razorpay and authorize DaySchedule.
The connection shows as Active under Razorpay. Razorpay needs the Pro plan.
Charge for an event
- Open the event from Resources and select the Payment tab.
- Turn on Accept Payment.
- Under Payment Gateways, select Razorpay.
- Under Pricing, click Add Price, choose INR and enter the amount, such as "Consultation, INR, 500".
- Click Save Changes.
When someone books, Razorpay's checkout opens with the payment methods your Razorpay account has turned on.
Find a payment and refund it
Open the booking from Bookings. The Payment Details show the Amount, Payment Gateway and Transaction Id. Refunds are made from the payment in your Razorpay dashboard. Cancelling the booking in DaySchedule doesn't refund it.
Revoke access
To disconnect from Razorpay's side, open your Razorpay dashboard, go to Account and settings, then Applications, and click Revoke access next to DaySchedule. Delete the connection in DaySchedule as well.
Cashfree
Cashfree also takes INR payments by UPI, card and net banking, and works the same way. It's in beta and needs the Basic plan. See Cashfree for appointment bookings.